When using Windows, users may encounter the "LogiLDA.dll missing" error, which can prevent certain programs from running properly and disrupt normal operations. This article will introduce several effective methods to help you resolve this issue and restore system functionality.
1. Update Logitech Drivers
LogiLDA.dll is part of the Logitech driver package. Ensuring that the drivers are up to date can effectively fix LogiLDA.dll missing errors. Using Driver Sentry is recommended for automatically detecting and updating drivers, saving time and reducing the risk of downloading or installing incorrect drivers.
Click the Download button in this article to get the latest version of Driver Sentry. After installation, open the software and click "Scan".

Once the scan is complete, a list of missing or outdated drivers will be displayed. Locate the necessary drivers and click the "Upgrade" button.
After updating, restart your computer to ensure that the new drivers take effect properly.
2. Run the System File Checker (SFC)
Press Win + S, type "Command Prompt" in the search bar.
Right-click Command Prompt and select "Run as Administrator".
In the Command Prompt window, type the following command and press Enter: sfc /scannow
Wait for the scanning process to complete. The system will automatically repair any corrupted files.
Restart your computer and check if the issue is resolved.
3. Use a DLL Repair Tool
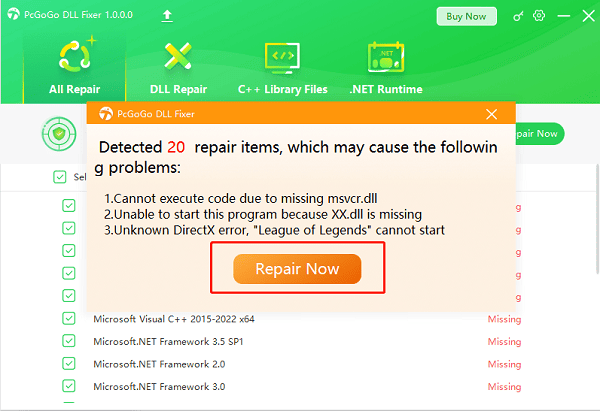
DLL files are crucial for the proper functioning of the Windows operating system. If these files are missing or corrupted, programs may fail to start, and the system may experience serious issues. PcGoGo DLL Fixer is a simple and efficient tool that helps you quickly repair missing or corrupted DLL files, saving time and improving efficiency.
Click the Download button in this article to get the software and complete the installation.
Open the software and click "Detect Now" to scan for missing or damaged DLL files.
Once the scan is complete, click "Repair Now" to begin the repair process and wait for it to finish.

4. Delete the Logitech Download Assistant Registry Key
Press Win + R to open the Run dialog box.
Type "regedit" and press Enter to open the Registry Editor.
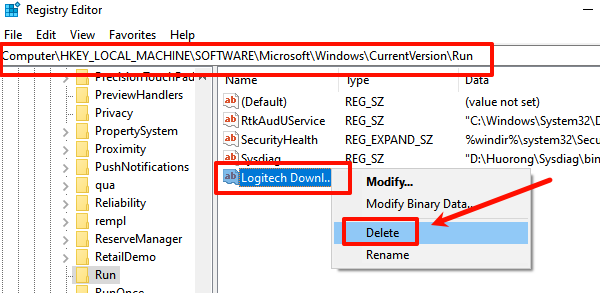
In the Registry Editor, navigate to the following path: Computer\HKEY_LOCAL_MACHINE\SOFTWARE\Microsoft\Windows\CurrentVersion\Run
Locate the "Logitech Download Assistant" key, right-click it, and select "Delete".

Close the Registry Editor and restart your computer.
5. Manually Download and Register LogiLDA.dll
Visit a trusted DLL download website.
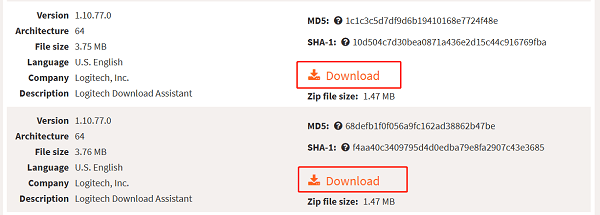
Search for LogiLDA.dll and download the file that matches your Windows version.

Copy the downloaded LogiLDA.dll file to the appropriate folder:
For 32-bit systems: C:\Windows\System32\
For 64-bit systems: C:\Windows\SysWOW64\
Open Command Prompt as Administrator and enter the following command: regsvr32 C:\Windows\System32\LogiLDA.dll
If the registration is successful, a confirmation message will appear.
Restart your computer and check if the issue is resolved.
6. Run a Virus Scan
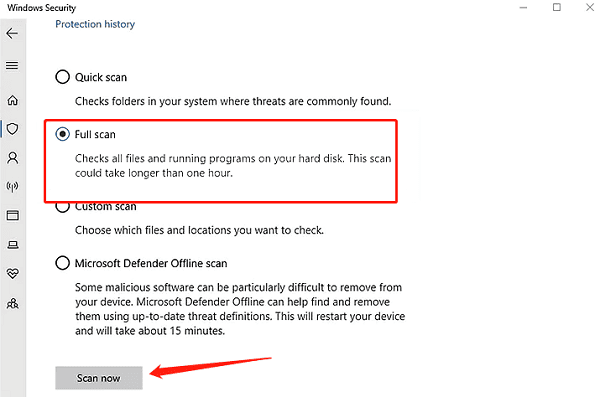
Open Settings and go to "Update & Security" > "Windows Security" > "Virus & threat protection".
Select "Quick Scan" or "Full Scan" to check for viruses or malware on your system.

If any threats are detected, follow the on-screen instructions to remove them.
Restart your computer and check if the LogiLDA.dll missing error is resolved.
By following the methods outlined above, you can effectively fix the LogiLDA.dll missing error and restore normal system functionality. If the issue persists, consider contacting technical support for further assistance.
See also:
Solutions to Fix the Windows 11 Unidentified Network Issue
Solutions to Fix WiFi Connected but No Internet Issue