When running certain programs on Windows, you may encounter errors such as "Msvcr120.dll is missing" or "Cannot find Msvcr120.dll file", preventing the program from launching properly. This article provides several practical solutions to help you quickly resolve this issue and restore system stability.
1. Run the System File Checker (SFC)
Type "Command Prompt" in the search bar and select "Run as administrator".
Enter the following command: sfc /scannow
Press Enter, and the tool will begin scanning and repairing corrupted system files. This process may take some time.
Once the scan is complete, Windows will attempt to fix any detected errors. Restart your computer and check if the issue is resolved.
2. Use a DLL Repair Tool
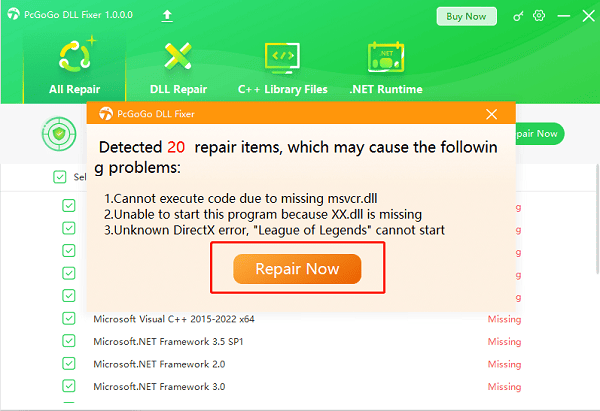
DLL files are essential for Windows to function correctly. If these files are missing or corrupted, programs may fail to launch, and in severe cases, system errors may occur. It's recommend to use PcGoGo DLL Fixer, a simple and efficient tool that helps you quickly repair DLL files, saving time and improving system stability.
Click the Download button in this article to install the software.
After installation, open the program and click "Detect Now" to start scanning.
Once the scan is complete, click "Repair Now" to fix the detected issues and wait for the process to finish.

3. Download and Register the Msvcr120.dll File
Download the DLL File:
Visit a trusted DLL download website.
Download the version of Msvcr120.dll that matches your system architecture:
For 32-bit systems: Place it in C:\Windows\System32\
For 64-bit systems: Place it in C:\Windows\SysWOW64\
Register the DLL File:
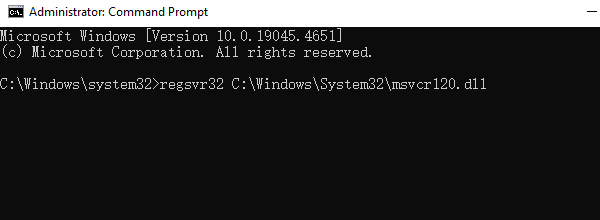
Run Command Prompt as administrator.
Enter the following command: regsvr32 C:\Windows\System32\msvcr120.dll

Press Enter—if registered successfully, a "Registration successful" message will appear.
Restart your computer and check if the error persists.
4. Repair Microsoft Visual C++ Redistributable
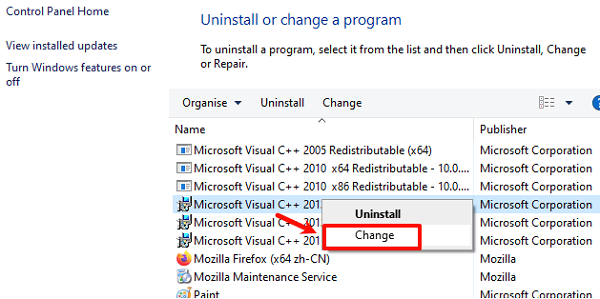
Open Control Panel and navigate to "Programs" > "Programs and Features".
Find and select Microsoft Visual C++ 2013 Redistributable.
Right-click the package and choose "Change".

Click "Repair" and wait for the process to complete.
5. Run a Virus Scan
Open "Settings" > "Update & Security" > "Windows Security" > "Virus & threat protection".
Choose "Quick scan" or "Full scan" to check for malware or viruses.
After the scan is complete, follow the on-screen instructions to remove any detected threats.
Restart your computer and check if the Msvcr120.dll issue is resolved.
6. Reinstall the Affected Program
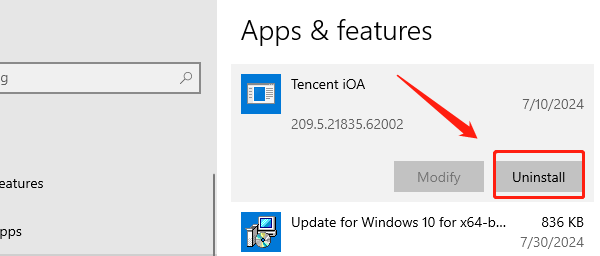
Open Control Panel > "Programs" > "Programs and Features".
Locate the program experiencing the issue, right-click it, and select "Uninstall".

Download the latest version of the program from its official website and reinstall it.
The installation process will ensure that all necessary files, including Msvcr120.dll, are correctly installed.
Restart your computer and check if the program runs properly.
By following these solutions, you should be able to successfully fix the Msvcr120.dll missing error and restore normal Windows operation!
See also:
Solutions to Fix the Windows 11 Unidentified Network Issue
Solutions to Fix WiFi Connected but No Internet Issue