Brightness control is one of the most essential settings on any Windows 10 device. Whether you're trying to conserve battery life, reduce eye strain, or adjust your screen for optimal visibility in various lighting conditions, knowing how to tweak your brightness is crucial. This guide provides step-by-step instructions for adjusting your display brightness.
1. Why Adjusting Brightness Matters
Save Battery Life: Lower brightness levels consume less power, extending the battery life of laptops and tablets.
Enhance Comfort: Reducing screen brightness in low-light environments minimizes eye strain and discomfort.
Improve Visibility: Increasing brightness helps you see the display better in bright surroundings.
Prevent Screen Burn-in: Proper brightness adjustments can prevent long-term damage to your display.
2. Methods to Adjust Brightness on Windows 10
1) Using the Action Center
The Action Center is the quickest way to adjust brightness on Windows 10. Here's how:
Click on the Action Center icon in the bottom-right corner of the taskbar (or press Win + A).

Look for the brightness slider. If it's not visible, click Expand to reveal more options.
Drag the slider left to decrease brightness or right to increase it.
2) Using Settings
If you prefer more precise control, you can adjust brightness through the Settings app:
Press Win + I to open Settings.
Navigate to System > Display.
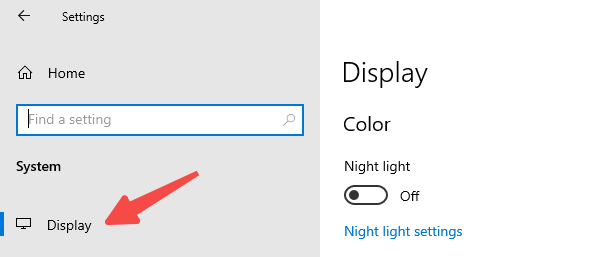
Under the "Brightness and color" section, use the slider to adjust your screen's brightness.
3) Using Keyboard Shortcuts
Most laptops come with dedicated function keys for brightness adjustment:
Look for the brightness icon on your keyboard (often depicted as a sun symbol).
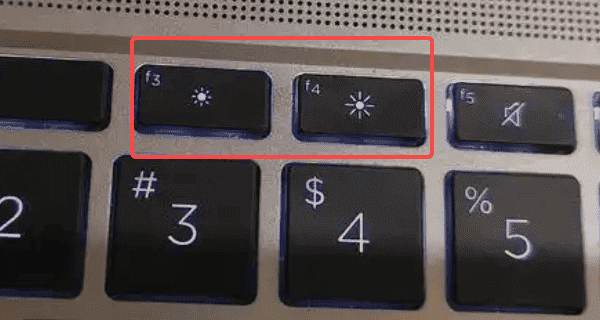
Hold the Fn key and press the brightness up or down key.
4) Adjusting Brightness Automatically
Windows 10 can automatically adjust brightness based on ambient light or battery settings:
Enable Adaptive Brightness:
Go to Settings > System > Display.
Scroll down to "Brightness and color" and toggle on "Change brightness automatically when lighting changes".
Note: This feature requires a light sensor, commonly available on laptops and tablets.
Enable Battery Saver Mode:
Open Settings and go to System > Battery.
Toggle on "Battery saver" or set it to activate at a specific battery level.
When enabled, Battery Saver automatically lowers brightness to conserve power.
5) When Brightness Control is Missing or Malfunctioning
Sometimes, brightness controls may not work due to outdated or incompatible display drivers. This is where updating your graphics driver becomes essential.
Driver Sentry is an efficient tool to keep your device drivers up to date. Outdated or corrupted display drivers can cause issues with brightness controls, and updating these drivers can resolve the problem. Here's how to use Driver Sentry:
Download and Install Driver Sentry. Install it by following the on-screen instructions.
Open Driver Sentry and click on "Scan".
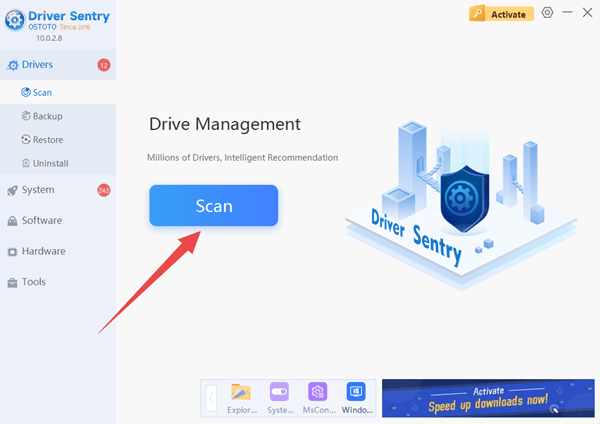
The tool will detect outdated or missing drivers, including graphics drivers.
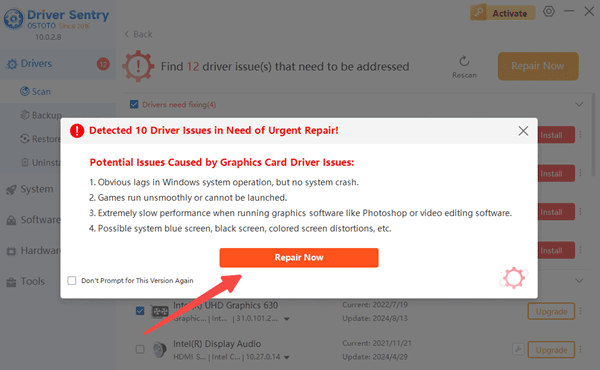
After updating, restart your computer to ensure the changes take effect.
6) Tips for Optimal Brightness Adjustment
Match Your Environment: Lower brightness in dimly lit rooms and increase it in bright settings.
Consider Blue Light Filters: Use Windows 10's built-in Night Light feature (found in Settings > System > Display) to reduce blue light emission, which is easier on your eyes at night.
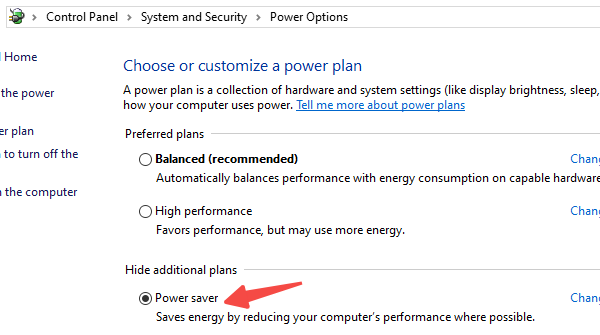
Check Power Plans: Customize your power plan settings (via Control Panel > Power Options) to manage brightness levels based on battery or plugged-in status.
By following the steps in this guide, you will successfully adjust the screen brightness on Windows 10. If the brightness control is not functioning properly, using Driver Sentry to update your graphics driver is a reliable solution.
See also:
Fix Fallout 3 Crashing on Windows 10
Guide to Fixing a Computer That Keeps Crashing