
This article provides a step-by-step guide on downloading and performing a clean installation of Windows 11 to optimize your computer's performance. A clean installation removes unnecessary files and software conflicts, helping your system run more smoothly and stably.
1. Check Your PC System Requirements
Press Windows + X and select "System".
In "Device Specifications", check the name and frequency of your processor.
Press Windows + R, type "tpm.msc", and hit Enter.
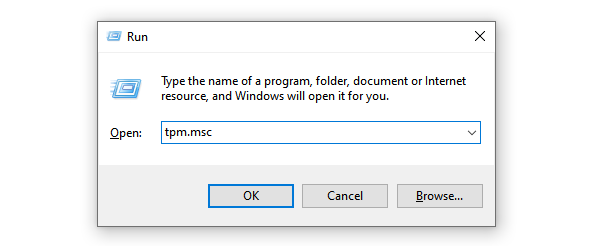
In the "TPM Management" window, check the "Specification Version" to ensure it's 2.0.
Similarly, check the "Installed RAM" in the "System" page.
Open "This PC" or "File Explorer" to check available space on your hard drive or SSD, ensuring you have at least 64 GB.
2. Download the Windows 11 ISO File
Visit Microsoft's Windows 11 download page.
In the "Download Windows 11 Disk Image (ISO)" section, select the Windows 11 version, then click "Download".
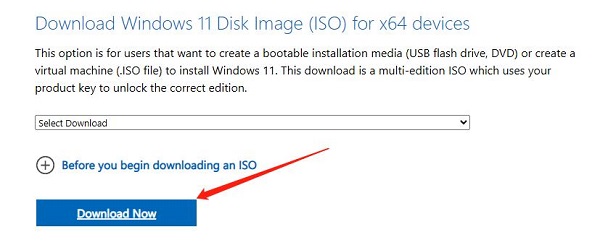
After selecting your language, click "Confirm".
Finally, click the "64-bit Download" link to download the ISO file.
3. Create a Bootable USB Installation Drive
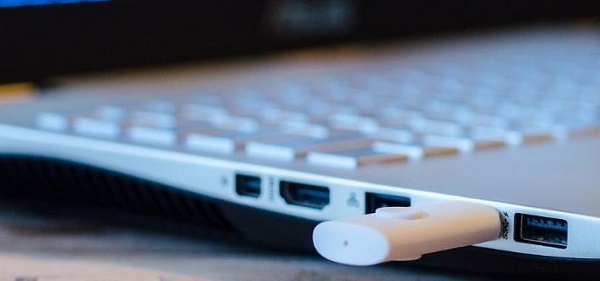
Prepare a USB drive with at least 8 GB of capacity, ensuring it has no important files (as the drive will be formatted during the creation process).
Download and install Rufus, a popular tool for creating bootable USB drives.
Open Rufus and insert your USB drive.
In the Rufus interface, select your USB drive, then click "Select" to find the Windows 11 ISO file you downloaded.
Keep the default settings (file system: FAT32 or NTFS), then click "Start". Rufus will begin writing the Windows 11 installation files to the USB drive.
After the process is complete, your bootable Windows 11 USB installation drive will be ready.
4. Start the Clean Installation of Windows 11
Step 1: Enter BIOS and Boot from USB
Restart your computer and press the designated key (e.g., F2, F10, DEL) to enter the BIOS settings. Different brands may use different keys.
In the BIOS, set your USB drive as the first boot device, then save and exit the BIOS.
Step 2: Start Installing Windows 11
After rebooting, your system will boot from the USB drive, and you will see the Windows 11 installation screen.
Select your language, time, and keyboard input method, then click "Next".
Click "Install Now" and enter a product key or select "I don't have a product key" to skip this step.
Select the version of Windows 11 to install, accept the license terms, and choose "Custom: Install Windows Only (Advanced)".
Step 3: Select Drive and Format
On the drive selection page, delete the partition where you want to install Windows 11 to ensure a clean installation. Select the unallocated space for the installation.
Click "Next", and the Windows 11 installation will begin. The process may take some time.
Step 4: Configure System Settings
Once installation is complete, the system will restart, and you'll proceed with Windows 11's initial setup.
Follow the prompts to configure your region, language, Wi-Fi network, and Microsoft account or local account.
Once all settings are complete, you'll arrive at the new Windows 11 desktop.
5. Check and Install Drivers
After installation, it's recommended to check if any drivers are missing. You can use Driver Sentry to automatically detect and update drivers, saving time and preventing the installation of incorrect drivers.
Download and install the latest version of Driver Sentry, then open it and click "Scan".
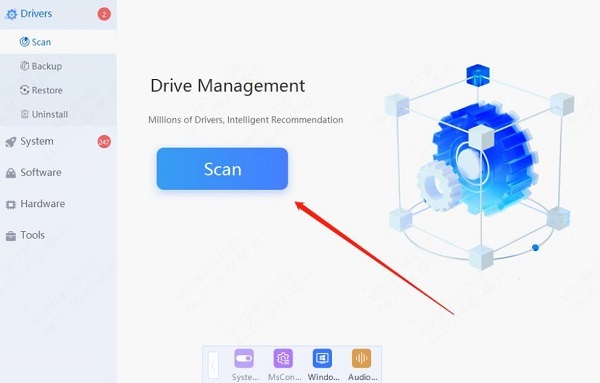
Once the scan is complete, it will show a list of drivers that need to be installed or updated. Find the required drivers and click "Update".
After updating, restart your computer to ensure the new drivers are working properly.
By following these steps, you can easily download and perform a clean installation of Windows 11, ensuring a smoother system experience and minimizing potential issues. Remember to back up your data and carefully follow the instructions to avoid problems.
See also:
Guide to Adjusting Logitech Mouse Sensitivity
How to Fix No Sound on an External Monitor Connected via HDMI