
In daily computer use, network connection issues are common. This article will provide detailed steps to help you enable a disabled computer network and quickly restore your internet connection.
1. Check the Network Adapter Status
Press Win + X and select "Device Manager" to open it.
In Device Manager, locate and expand the "Network adapters" section.
Check if any adapter is grayed out, which indicates it's disabled.
Right-click the disabled network adapter and choose Enable.
Once the adapter is enabled, the computer should automatically reconnect to the network.
2. Update Network Drivers
If enabling the network adapter doesn't resolve the issue, outdated drivers may be the cause. It's recommended to use a tool like Driver Sentry to automatically detect and update drivers, saving time and avoiding installation errors.
Download and install the latest version of Driver Sentry. Open the software and click "Scan".
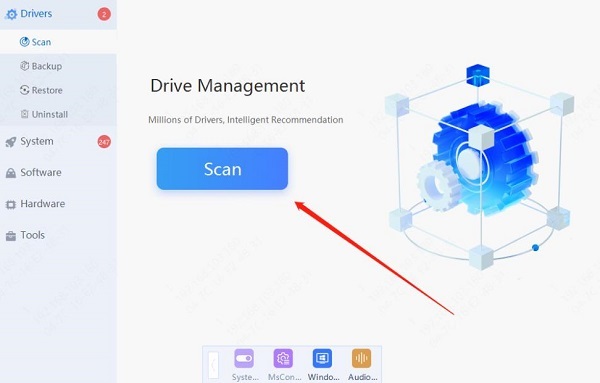
Once the scan is complete, the results will display any drivers that are missing or need updates. Locate the network driver in the list and click "Update".
After the update, restart your computer to ensure the updated drivers are properly applied.
3. Enable the Network
Press Win + I to open Settings and select "Network & Internet".
Click on "Status", then go to "Network and Sharing Center".
In the left menu, click "Change adapter settings".
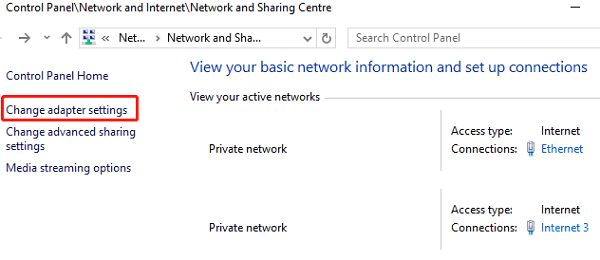
In the Network Connections window, find the disabled network (it usually has a gray icon).
Right-click the disabled connection and select Enable.
Once enabled, the network connection should be restored.
4. Check Hardware Connections
Check the Ethernet cable connection
Ensure both ends of the Ethernet cable are securely connected to your computer and the router. Try unplugging and reinserting the cable to ensure a firm connection.
If the cable is worn or broken, consider replacing it.
Check the router status
Ensure the router is powered on, and check the status lights to confirm it's working.
Try restarting the router if it's on but not functioning correctly.
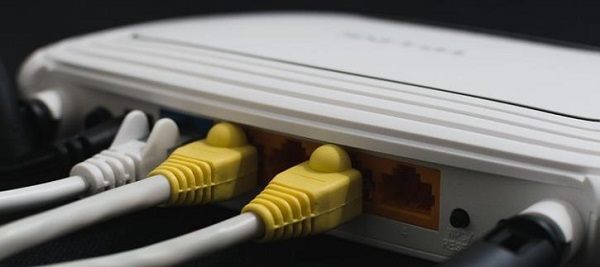
Test different ports
Plug the Ethernet cable into a different port on the router to rule out a faulty port.
Check if the router's port indicator lights are functioning.
5. Reset Network Settings
Press Win + I to open Settings and go to "Network & Internet".
Under the "Status" page, find and click "Network reset".
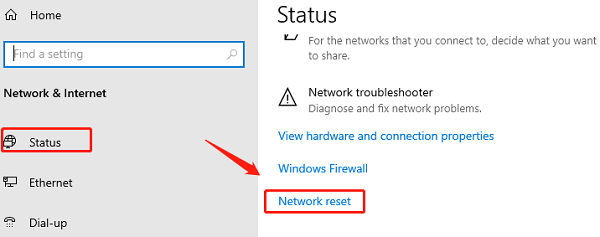
The system will prompt you that all network adapters will be removed and reset. Click "Reset now".
After the reset, your computer will restart, and network settings will return to their default state.
This step is useful if there are configuration issues with the network adapter.
6. Check Firewall and Security Software Settings
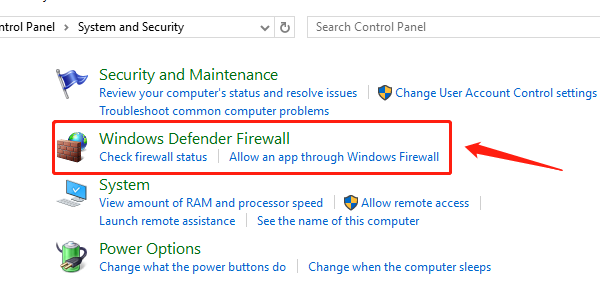
Open the Control Panel and go to "System and Security".
Click "Windows Defender Firewall" and ensure that it isn't blocking the network connection.
If using third-party security software, open its interface and check for any network protection or blocking features that may have been enabled by mistake.
Disable or adjust these settings, and your network should start working properly.
These steps will help enable a disabled network and fix connectivity issues. If the issue persists, contact your ISP or seek technical support. Regularly updating drivers and checking connections can prevent disruptions and improve efficiency.
See also:
How to Fix No Sound on Your Computer
How to Quickly Check Your Computer's Graphics Card Configuration