If you encounter the "Ethernet is connected but no internet access" issue on a Windows PC, this article offers effective solutions to restore normal network access.
1. Update Network Adapter Drivers
Outdated or corrupted network adapter drivers can prevent internet access. Updating the drivers can effectively resolve this issue. It is recommended to use Driver Sentry to automatically detect and update drivers, saving time and avoiding the risk of downloading or installing incorrect drivers.
Click the download button to get the latest version of Driver Sentry, install it, then open the software and click "Scan".

After the scan, it will display which drivers are missing or need updating. Find the network adapter driver in the results and click the "Upgrade" button.
After updating, restart your computer to ensure the new drivers take effect.
2. Check Physical Connections
Check Ethernet Cable:
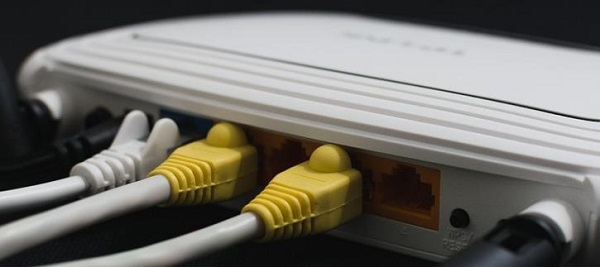
If using a wired connection, ensure that one end of the Ethernet cable is securely plugged into the computer's network port, and the other end is plugged into the router or switch.
Make sure the cable is not loose or damaged. Try using a different cable to rule out hardware issues.
Check Wi-Fi Connection:
If using a wireless connection, ensure your computer is connected to the correct Wi-Fi network.
Click the network icon in the taskbar to check if it shows "Connected".

Check Indicator Lights:
The indicator lights on the router or modem should be steady or blinking. If the lights show unusual behavior (like a red light), there may be an issue with the network device.
3. Restart Devices
Restart Router:
Turn off the router and wait a few minutes before turning it back on.
Wait for the router to fully restart (usually 1-2 minutes) and ensure all lights return to normal.

Restart Computer:
Click the "Start" button, select "Power", then click "Restart".
Restarting your computer can clear temporary cache and potential system glitches.
After restarting, check if the computer can connect to the internet. If not, try the following steps.
4. Change DNS Server
Press Win + I to open the "Settings" window, then select "Network & Internet".
In the left menu, select "Ethernet" or "Wi-Fi", then click the currently connected network name.
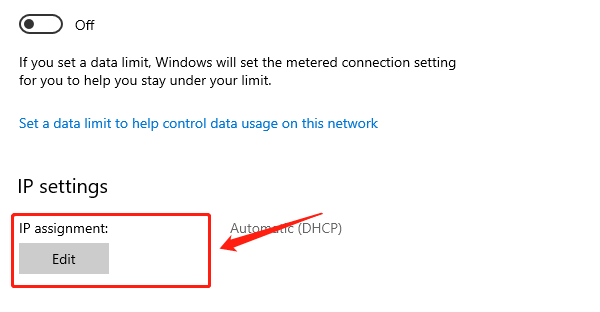
Scroll down to find "IP Settings" and click "Edit".

In the pop-up window, select "Manual" and enable IPv4.
In the "Preferred DNS" field, enter: 8.8.8.8
In the "Alternate DNS" field, enter: 8.8.4.4
Click "Save" to apply the changes.
Open the browser and try visiting a webpage to check if the internet connection has been restored.
5. Run Network Troubleshooter
Press Win + I to open the "Settings" window, then select "Update & Security".
In the left menu, select "Troubleshoot", then click "Additional troubleshooters".
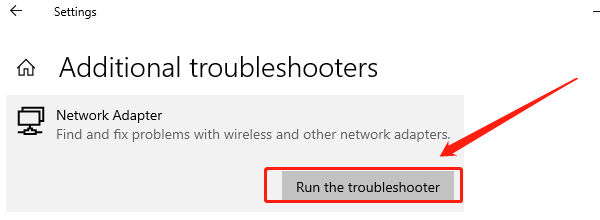
In the "Additional troubleshooters" page, find "Network Adapter" and click "Run the troubleshooter".

The system will automatically scan for network connection issues. If a problem is detected, the system will provide repair options.
Follow the on-screen instructions to complete the repair process, then check if the network is functioning properly.
6. Reset Network Settings
Press Win + I to open the "Settings" window, then select "Network & Internet".
In the left menu, select "Status", then scroll down to find "Network Reset".
Click the "Reset Now" button.
After the reset, the system will prompt you to restart your computer to complete the changes.
Upon restart, reconnect to the Wi-Fi or wired network manually and verify that the network is working properly.
Follow these steps to troubleshoot and resolve network issues. If the problem persists, contact your network provider or technical support for help.
See also:
How to Fix Windows 10 Screen Flickering
How to Improve GPU Performance