
Many Windows users may encounter the "IPv4 No Network Access" error, which prevents internet connection via the IPv4 protocol. This article outlines common solutions to quickly resolve the issue and restore network access.
1. Check Network Connections
Ensure the Ethernet cable is connected and Wi-Fi is enabled and linked to the correct network.
Check the router's status lights and restart it if necessary before reconnecting.
Use another device on the same network to confirm the issue isn't with the router or ISP.
2. Update Network Adapter Drivers
Outdated or corrupt network adapter drivers can cause the "IPv4 No Network Access" error. Updating the drivers may effectively resolve the issue. Using Driver Sentry is recommended for automatic driver detection and updates, saving time and preventing the risk of installing incorrect drivers.
Download the latest version of Driver Sentry, install, and open the software. Click "Scan".
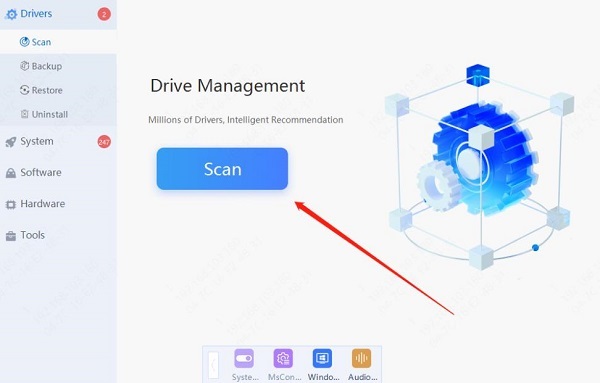
After scanning, the software will show which drivers need updates or installation. Find the network adapter driver and click "Update".
Once the update is complete, restart your computer to ensure the new driver is functioning properly.
3. Flush DNS Cache
Press Win + R, type "cmd", and press Ctrl + Shift + Enter to run Command Prompt as an administrator.
In the Command Prompt window, type the following command and press Enter: ipconfig /flushdns
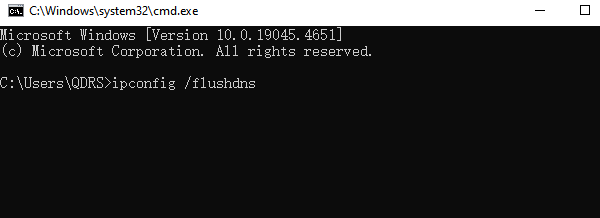
Once the command executes successfully, you will see the message "Successfully flushed the DNS Resolver Cache".
Close the Command Prompt and try reconnecting to the network to check if the issue is resolved.
4. Reset IP Configuration
Press Win + R, type "cmd", and run as an administrator. Enter the following commands one by one, pressing Enter after each:
netsh int ip reset
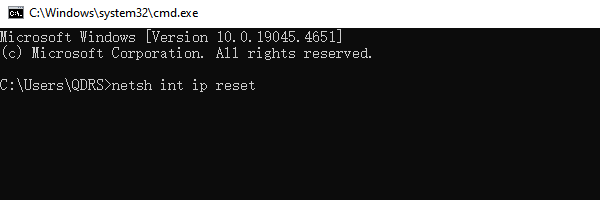
netsh winsock reset
ipconfig /release
ipconfig /renew
ipconfig /flushdns
After resetting, restart your computer and try reconnecting to the network to see if the problem is fixed.
5. Reset Network Settings
Press Win + I to open Windows Settings, and click on "Network & Internet".
In the status interface, find "Network Reset" and click on it.
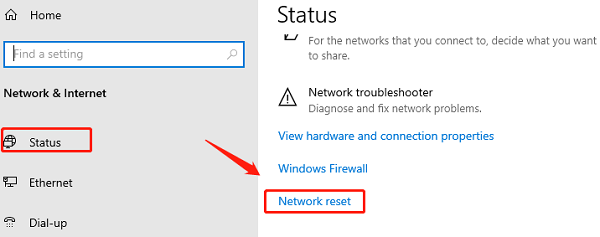
Click "Reset Now". The system will reset all network adapters and clear network configurations. This process may take a few minutes, and the system will restart automatically once it's done.
After restarting, reconnect to Wi-Fi or Ethernet and check if the "No Network Access" issue is resolved.
6. Enable DHCP
In the search bar, type "Control Panel" and open it. Go to "Network and Internet" > "Network and Sharing Center".
On the left menu, click "Change adapter settings".
Right-click the active network connection (Wi-Fi or Ethernet) and select "Properties".
In the Properties window, double-click "Internet Protocol Version 4 (TCP/IPv4)".
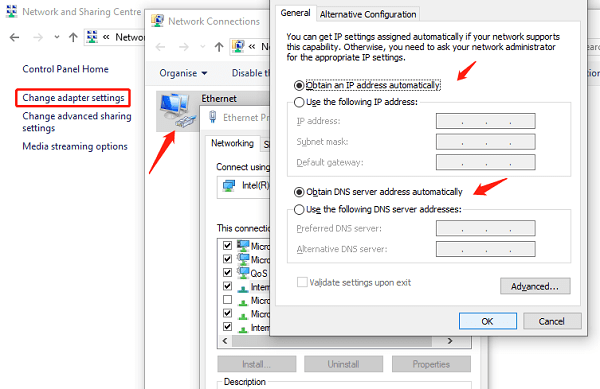
In the pop-up window, ensure that "Obtain an IP address automatically" and "Obtain DNS server address automatically" are selected. Click "OK" to save the settings.
After completing the setup, reconnect to the network to see if the problem is resolved.
7. Check Router Settings
1). Open a browser and type the router's IP address into the address bar (usually 192.168.1.1 or 192.168.0.1). If unsure, you can check the label on the bottom of the router or use the ipconfig command to find the default gateway.
2). Enter the router's administrator username and password (often admin/admin by default). If you've changed the password, enter the updated credentials.
3). Once logged in, find the "DHCP" option, usually under "Network Settings" or "LAN Settings". Ensure the "Enable DHCP Server" option is selected. If it's not enabled, check the box and save the changes.
4). After making the changes, restart the router and reconnect to the network.
The "IPv4 No Network Access" error is a common issue, but with the methods outlined above, it can usually be quickly fixed. If the problem persists, consider contacting your ISP or seeking professional technical support.
See also:
How to Update Sound Card Drivers on Windows 10
7 Ways to Fix GTA 5 Constant Crashing on PC