Some Windows 10 users may encounter the "Bad Image Error". This article offers practical solutions to quickly restore normal system operation.
1. Update Device Drivers
Bad Image Errors can sometimes be related to hardware driver incompatibility or outdated drivers. Keeping your device drivers updated can help resolve this issue. Using Driver Sentry to automatically detect and update drivers is highly recommended, as it saves time and minimizes the risk of downloading or installing incorrect drivers.
Click the download button to get the latest version of Driver Sentry. After installation, open the software and click "Scan".

Once the scan is complete, the software will display a list of drivers that need updating. Find the drivers to be updated and click the "Upgrade" button.
After completing the update, restart your computer to ensure the updated drivers take effect.
2. Restart the Computer
Save your work and close all applications.
Click the "Start" button and select "Restart".
Once the computer restarts, check if the error is resolved.
3. Check System Files
Run the System File Checker (SFC):
Press Win + S, type "Command Prompt", right-click the result, and select "Run as Administrator".
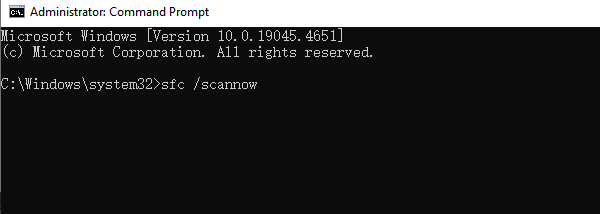
In the Command Prompt window, type the following command and press Enter: sfc /scannow

Wait for the system to scan and repair any corrupted system files. This process may take a few minutes.
Once the scan is complete, restart your computer and check if the Bad Image Error is resolved.
If the SFC tool cannot fix the issue, proceed with a deeper repair using the DISM tool.
Run the DISM Tool:
Press Win + S, type "Command Prompt", right-click the result, and select "Run as Administrator".
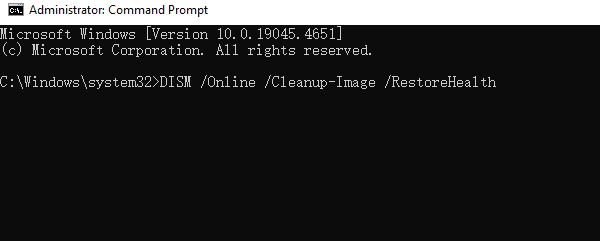
In the Command Prompt window, type the following command and press Enter: DISM /Online /Cleanup-Image /RestoreHealth

Wait for the DISM tool to scan and repair errors in the Windows image. This process may take some time, depending on your system and network conditions.
Once the repair is complete, restart your computer and check if the Bad Image Error is resolved.
4. Reinstall the Problematic Application
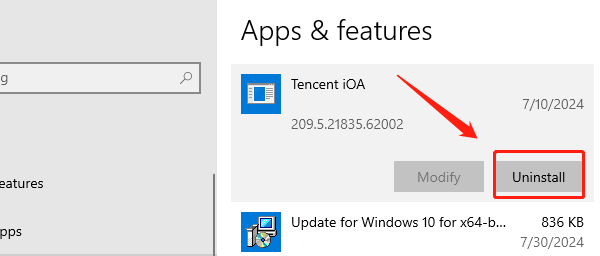
Open "Control Panel" > "Programs and Features", and locate the application causing the error.
Right-click the application and select "Uninstall".

After uninstallation, visit the application's official website to download and install the latest version.
After installation, try launching the application and check if the Bad Image Error is resolved.
5. Uninstall Problematic Windows Updates
Press Windows + I to open "Settings".
Click "Update & Security" and select "Windows Update".
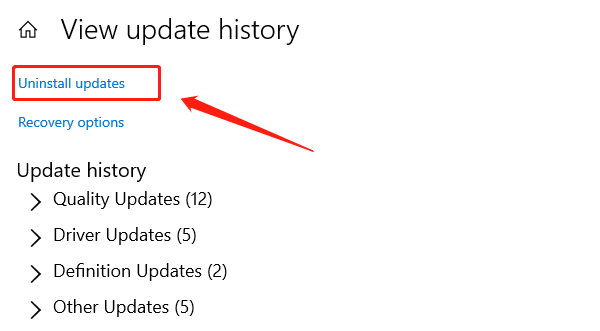
Click "View update history".
Select "Uninstall updates" to see a list of installed updates.

Locate and select the most recent update, then click "Uninstall".
After uninstallation, restart your computer and check if the issue is resolved.
6. Scan and Remove Viruses or Malware
Open Windows Security Center and click "Virus & Threat Protection".
Select "Quick Scan" or "Full Scan". A full scan will thoroughly check all files in your system for potential viruses or malware.
Wait for the scan to complete and remove any detected threats.
After completing the scan, restart your computer and check if the Bad Image Error is resolved.
Follow these methods to fix the Bad Image Error. If the issue persists, seek help from a professional technician.
See also:
Solutions for Rockstar Games Launcher Not Working
Methods to Fix Windows 10 Error Code 0x80072F8F