Many users experience blue screen errors after updating Windows 10. This article offers methods to resolve the issue and restore normal operation.
Method 1: Check for Driver Updates
Incompatible or outdated drivers are a common cause of blue screen errors after Windows 10 updates. Ensuring your drivers are up to date is crucial to resolving the issue. Using Driver Sentry for automatic detection and driver updates can save time and reduce the risk of installing incorrect drivers.
Download the latest version of Driver Sentry, install it, and open the software. Click "Scan".

After the scan, identify drivers that are outdated or missing from the results list, and click "Upgrade".
Restart your computer after updating the drivers to ensure the changes take effect.
Method 2: Access Windows Recovery Environment
During startup, press and hold the power button for 5 seconds and repeat this process 3 times until the Windows Recovery Environment appears.
If the computer starts normally, you can also press "Shift + Restart" to enter the Recovery Environment.
Method 3: Run Startup Repair
In the Windows Recovery Environment, select "Troubleshoot".
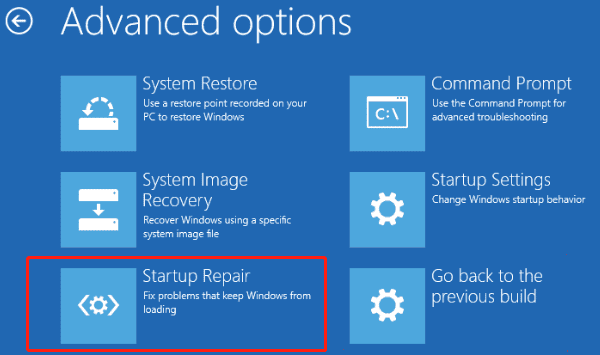
Click "Advanced Options", then choose "Startup Repair".

The system will automatically scan and fix startup issues. After completion, restart your computer to see if the issue is resolved.
Method 4: Run System File Checker (SFC)
In the Windows Recovery Environment, navigate to "Troubleshoot > Advanced Options > Command Prompt".
Enter the following command and press Enter: sfc /scannow
The system will scan and repair corrupted system files.
Restart your computer after the scan is complete to check if the problem is fixed.
Method 5: Use DISM Tool to Repair System Image
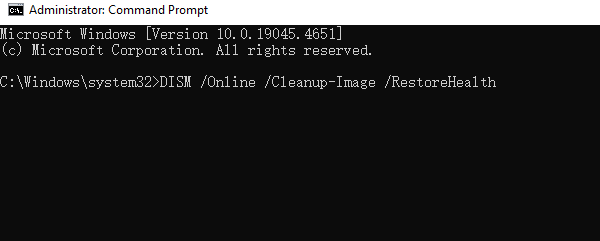
In the Command Prompt, type the following command and press Enter: DISM /Online /Cleanup-Image /RestoreHealth

This command scans and repairs the system image. The process may take some time, so be patient.
Restart your computer after the repair process is complete and check if the issue is resolved.
Method 6: Uninstall Recent Windows Updates
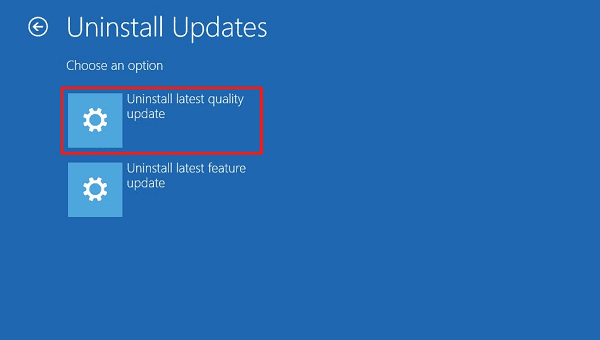
In the Windows Recovery Environment, go to "Troubleshoot > Advanced Options > Uninstall Updates".
Choose to uninstall the most recent feature update or quality update.

Confirm the operation and restart your computer to check if the problem is resolved.
Method 7: Check for Viruses and Malware
In the Windows Recovery Environment, select "Troubleshoot > Advanced Options > Command Prompt".
Enter the following command to run Windows Defender: MpCmdRun -Scan -ScanType 2
This will perform a deep scan for viruses or malware.
After the scan, follow the prompts to remove or quarantine any detected threats. Restart your computer and check if the issue is resolved.
Method 8: Reset Windows 10
In the Windows Recovery Environment, select "Troubleshoot > Reset this PC".
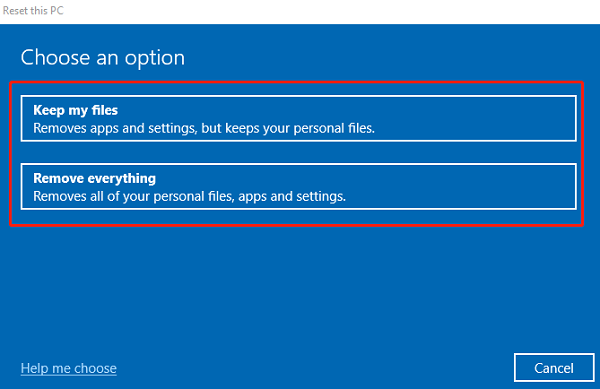
You will see two options:
Keep my files: Removes apps and settings but keeps personal files.
Remove everything: Deletes all files, apps, and settings for a fresh installation.

Choose your preferred option and confirm. The system will start the reset process.
After completion, the computer will restart and return to a fresh state.
Follow these steps to fix Windows 10 startup issues, blue screen errors, or boot failures. If the problem continues, further hardware checks or technical support may be needed.
See also:
How to Fix Slow Printing Issues
Guide to Fixing Printer Not Printing in Color