Users may encounter corrupted system files in Windows 10. This article offers effective solutions to fix the issue and restore normal system operation.
1. Check System Drivers
Outdated or corrupted drivers can lead to system file corruption in Windows. Checking and updating device drivers regularly is an effective way to resolve this problem. We recommend using Driver Sentry for automatic driver updates, which saves time and avoids the risk of downloading or installing incorrect drivers.
Click the download button to get the latest version of Driver Sentry. After installation, open the software and click "Scan".

After the scan is complete, it will show which drivers are missing or need updating. Find the drivers to update in the list and click the "Upgrade" button.
Once the update is complete, restart your computer to ensure the updated drivers take effect.
2. Use the SFC (System File Checker) Tool
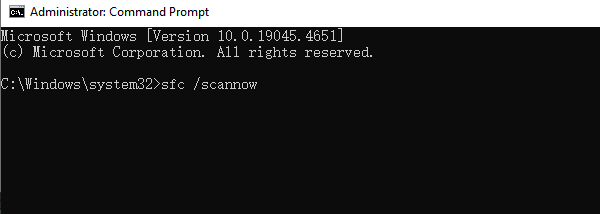
Press Win + S, type "Command Prompt", right-click on it, and select "Run as Administrator".
In the Command Prompt, enter the following command and press Enter: sfc /scannow

The system will begin scanning and attempt to fix corrupted system files. The process can take from a few minutes to half an hour. Please be patient.
If the issue is fixed, it will show "Windows Resource Protection found corrupt files and successfully repaired them".
If the problem persists, proceed to the next step.
3. Use DISM Tool to Repair System Image
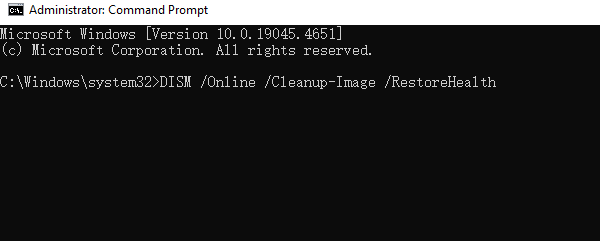
Press Win + S, search for "Command Prompt", and run it as Administrator.
Enter the following command and press Enter to check the health status of the system image: DISM /Online /Cleanup-Image /ScanHealth
If there are issues with the image, run this command to fix it: DISM /Online /Cleanup-Image /RestoreHealth

Press Enter and wait for the repair to complete. This may take some time, depending on your system's condition.
Once the repair is finished, restart your computer to apply the changes.
4. Perform a Disk Check
Press Win + S, search for "Command Prompt", and run it as Administrator.
Enter the following command and press Enter: chkdsk C: /f /r

The system will prompt whether to run the disk check on the next reboot. Type Y and press Enter to confirm.
Restart your computer, and the system will run a disk check at startup and attempt to fix any detected issues.
This process may take some time, so please be patient.
5. Reset Windows 10
Note: This process may cause the loss of some files or applications, so be sure to back up important data before proceeding.
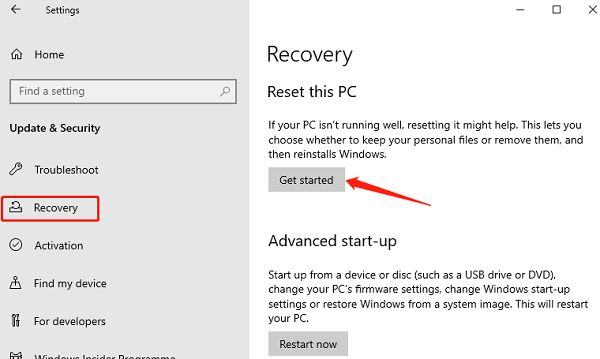
Press Win + I to open "Settings".
Go to "Update & Security" > "Recovery".
Under "Reset this PC", click the "Get Started" button.

Choose to either keep your files or remove everything:
Keep my files: Only deletes apps and settings, retaining personal files.
Remove everything: Deletes all files, apps, and settings, restoring the system to its default state.
Choose the reset method:
Local reinstall: Reinstalls Windows using files already on the computer.
Cloud download: Downloads the latest version of Windows from Microsoft servers.
Follow the prompts to complete the reset. The system will automatically install and reboot.
6. Use System Restore
Press Win + S, search for "Create a restore point", and click to open the "System Properties" window.
In the "System Protection" tab, click the "System Restore" button.
The system will display available restore points. Choose a restore point before the issue occurred and click "Next".
If you don't see enough restore points, check the box for "Show more restore points".
Review the restore point details, confirm, and click "Finish".
The system will begin the restore process, which may take several minutes to half an hour. Please be patient.
Once the restore is complete, the system will automatically reboot and return to the selected point in time.
Follow these steps to fix corrupted system files. If the issue persists, consider contacting technical support or reinstalling the OS.
See also:
Guide to Fixing a Non-Working Mouse