
In Windows 10, audio devices may be accidentally disabled, preventing normal audio output. This article offers effective methods to quickly fix disabled audio devices.
1. Check Audio Device Status
Type "Control Panel" in the search bar and click to enter.
In the Control Panel, find and click on "Hardware and Sound".
In "Hardware and Sound", click "Sound" to open the sound settings window.
In the "Playback" tab, check the listed audio devices to confirm whether your headphones or speakers are working. If a gray icon appears next to the device, it indicates that the device is disabled.
2. Update Audio Drivers
Outdated or corrupted audio drivers can lead to device disablement, so timely driver updates can ensure the device works properly and improve audio performance. It is recommended to use Driver Sentry to automatically detect driver updates, saving time and avoiding the risk of downloading or installing incorrect drivers.
Click the download button to get the latest version of Driver Sentry, install it, and open the software, then click "Scan".
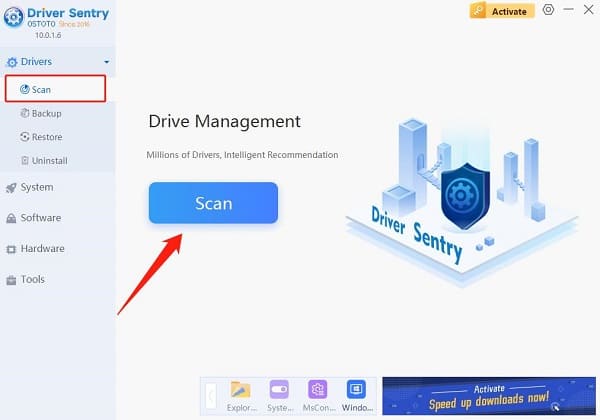
After scanning, it will display which drivers are not installed or need updates. Find the audio driver in the results list and click the "Upgrade" button.
After the update is complete, it is advisable to restart the computer to ensure the updated drivers function properly.
3. Check Speaker Status
Ensure the speakers are connected and powered on, then play audio to confirm the volume is normal.
Find the volume icon in the lower right corner of the taskbar, right-click, and select "Open Volume Mixer" to check if the volume levels for each audio channel are adjusted properly.
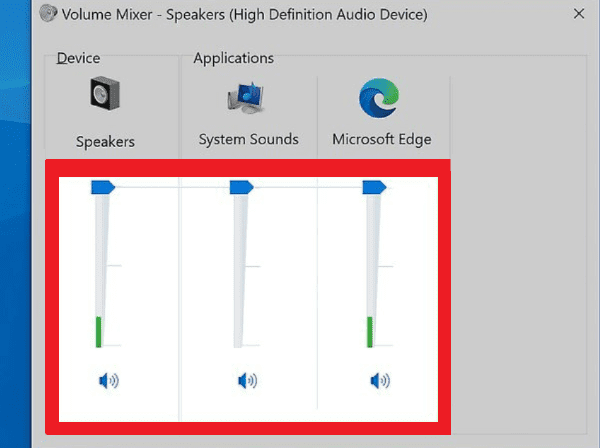
In the "Sound" settings, confirm that the speakers are set as the default device. If not, right-click the speaker device and select "Set as Default Device".
4. Enable Disabled Audio Devices
As mentioned earlier, open the "Sound" settings window.
Right-click in the blank area of the "Playback" tab and select "Show Disabled Devices".
If you see any disabled devices, right-click on them and select "Enable". Then set it as the default device.
5. Check Windows Services
Press Win + R, type "services.msc", and press Enter.
In the services window, find "Windows Audio" and "Windows Audio Endpoint Builder" services.
Ensure both services are running. If not, right-click on the service and select "Start". If they are running, right-click on the service and select "Restart".
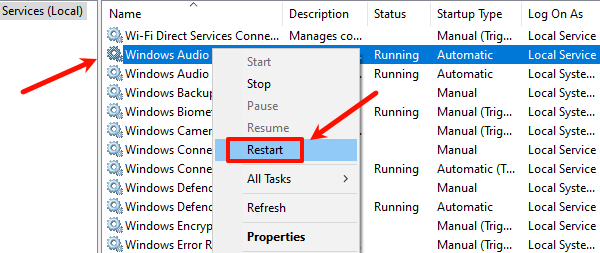
Right-click on the service, select "Properties", set the "Startup type" to "Automatic", and click "Apply" and "OK".
6. Use the Troubleshooter
Click the "Start" menu and select "Settings" (gear icon).
In the settings interface, select "Update & Security".
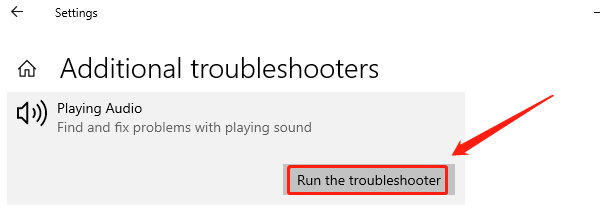
In the left menu, select "Troubleshoot", then click "Additional troubleshooters".
Find the "Playing Audio" option and click "Run the troubleshooter". The system will automatically detect and attempt to fix audio issues.
7. Restore the System
Type "Control Panel" in the search bar and click to enter.
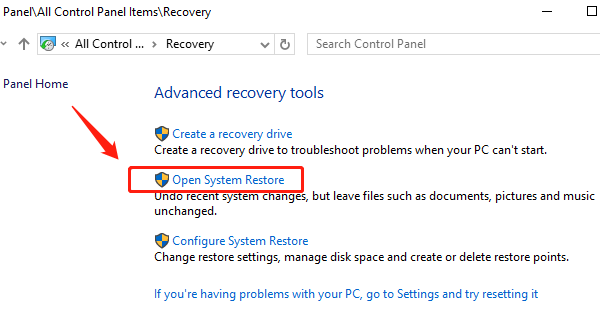
In the Control Panel, find and click "Recovery".
Click "Open System Restore", follow the prompts to choose a restore point, and select a date and time to restore to.
After confirming your selection, the system will restart and restore to the chosen state. Please note that this process may change some software or settings.
By following the methods above, you can usually find and resolve the issue quickly. If the problem persists, it is advisable to contact professional technical support for further assistance and solutions.
See also:
How to Fix Silent Hill 2 Remake Crashing
Fix Windows Boot Manager not showing in BIOS