
Many Windows 10 users may encounter Blue Screen of Death (BSOD) errors, such as the dxgkrnl.sys error. This article offers effective solutions to help fix this issue and restore system stability.
What is the dxgkrnl.sys Error?
"dxgkrnl.sys" is an important file in the Windows operating system, belonging to the DirectX graphics kernel subsystem. It is responsible for handling graphics-related tasks, and is closely related to graphics card drivers. When a dxgkrnl.sys error occurs, it usually indicates a problem with the graphics card driver or potential hardware conflicts within the system.
1. Update Graphics Card Drivers
Outdated or corrupted graphics card drivers are a common cause of the dxgkrnl.sys error. Timely updates can effectively resolve this issue. It is recommended to use Driver Sentry to automatically detect and update drivers, saving time and avoiding the risk of downloading or installing incorrect drivers.
Click the download button to get the latest version of Driver Sentry, install it, and then open the software and click "Scan".

Once the scan is complete, it will show which drivers are missing or need updates. Locate the graphics card driver in the results list and click the "Upgrade" button.
After the update is complete, it is advisable to restart your computer to ensure the updated drivers take effect.
2. Perform a System File Check
Press Win + R, type "cmd", and press "Ctrl + Shift + Enter" to open the command prompt (as administrator).
In the command prompt, type "sfc /scannow" and press Enter. The system will automatically scan and repair corrupted files.
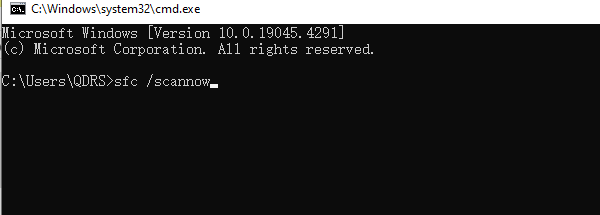
After completion, restart the computer to check if the issue has been resolved.
3. Disable SLI
Right-click on the desktop and select NVIDIA Control Panel.
In the left menu, click on Manage 3D Settings.
Click on the "Set SLI Configuration" or "Configure SLI, Surround, PhysX" option.
In the "Set the following" section, select "Disable SLI".
Then click "Apply" to save the changes and restart your computer.
4. Check Windows Updates
Click the "Start" menu, select "Settings", and then click on "Update & Security".
In the "Windows Update" section, click on "Check for updates".
If updates are available, click "Download and install".
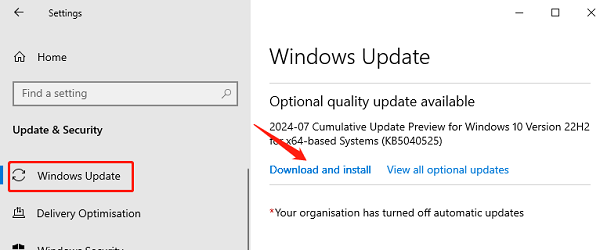
After the updates are complete, restart your computer and check if the issue has been resolved.
5. Run DISM Command
Open the command prompt as an administrator. Input the following commands one by one:
DISM /Online /Cleanup-Image /CheckHealth
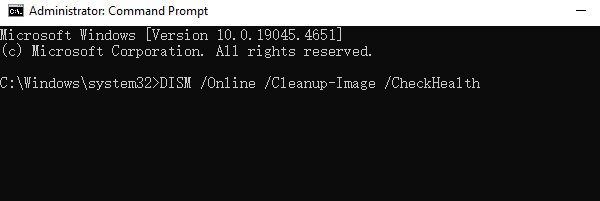
DISM /Online /Cleanup-Image /ScanHealth
DISM /Online /Cleanup-Image /RestoreHealth
Wait for the commands to complete, which may take some time. After finishing, restart the system.
6. Perform Windows Memory Diagnostic
Press Win + R, type "mdsched.exe", and press Enter.
Select "Restart now and check for problems", and the system will reboot to perform memory tests.
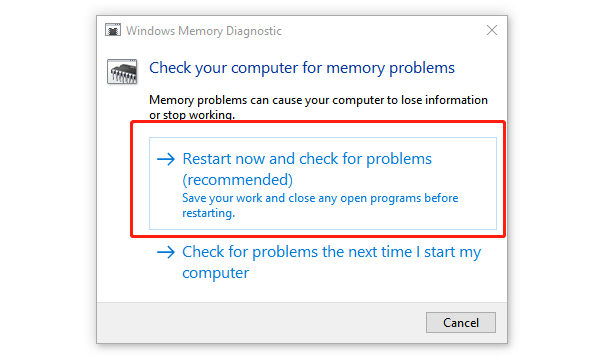
After the test is complete, the computer will automatically restart and display the results.
7. Execute System Restore
Search for "Create a restore point" in the Start menu and open it.
In the "System Protection" tab, click on "System Restore".
Select a restore point (choose a date before the error occurred) and click Next.
Follow the prompts to complete the restore process, and the system will automatically restart.
By following these steps, you can diagnose and fix the dxgkrnl.sys error. If the issue continues, consider contacting technical support or checking your hardware for help.
See also:
How to Fix Silent Hill 2 Remake Crashing
Fix Windows Boot Manager not showing in BIOS