
An Ethernet connection not working is a common issue that can prevent internet access. This article offers effective solutions to help you quickly resolve the problem and restore connectivity.
1. Check Physical Connections
Inspect the Ethernet cable for any wear, fraying, or damage. If any issues are found, try replacing the cable.
Check the indicator lights on the router and modem to confirm they are functioning properly; the network connection light should be lit.
Try plugging the Ethernet cable into different ports on the router to rule out a faulty port.
2. Update Network Adapter Drivers
Outdated or corrupted network drivers can cause Ethernet issues. It is recommended to use Driver Sentry to automatically detect and update drivers, saving time and avoiding the risk of downloading incorrect drivers.
Click the download button to get the latest version of Driver Sentry, and open the software after installation. Click "Scan".
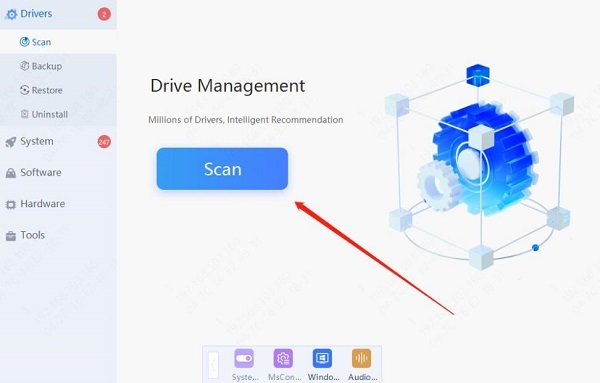
After scanning, it will display which drivers are missing or need updates. Find the network adapter driver in the results list and click the "Update" button.
After the update is complete, restart your computer to ensure the updated drivers take effect.
3. Restart Network Devices
Unplug the power from the router and modem, and wait for about 30 seconds.
First, connect the modem, then the router, and wait for the devices to fully boot up (usually takes 1-2 minutes).
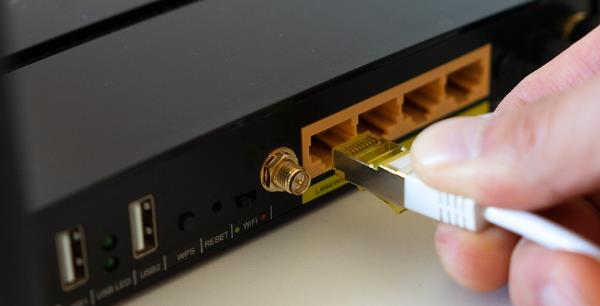
After restarting, check the network connection status on your computer to confirm if Ethernet has returned to normal.
4. Check Network Settings
Click the "Start" button, select "Settings", then click "Network & Internet".
In the "Status" page, confirm if the Ethernet connection shows as "Connected". If not, further check the settings.
Scroll down on the "Status" page to find the "Network reset" option and click "Reset now".
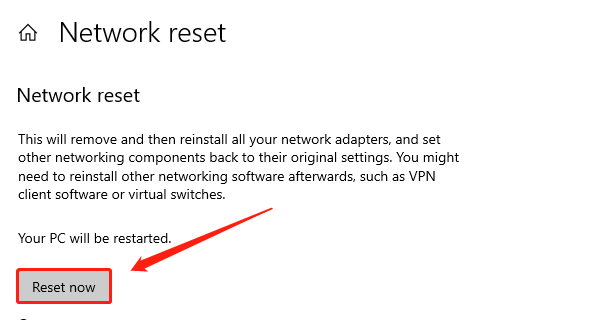
Follow the prompts to confirm the reset, which will restore the network adapter to its default settings.
5. Disable IPv6
Right-click the "Network" icon and select "Open Network and Internet settings".
On the "Status" page, click "Change adapter options".
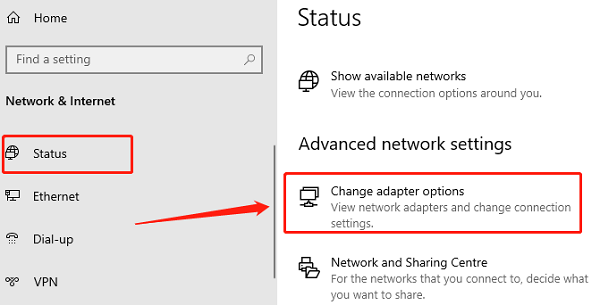
Right-click the Ethernet connection and select "Properties".
In the properties window, find "Internet Protocol Version 6 (TCP/IPv6)", uncheck it, and then click "OK" to save the settings.
6. Run Network Troubleshooter
Click the "Start" button, select "Settings".
Click "Update & Security", then choose "Troubleshoot".
Find "Additional troubleshooters", select "Network Adapter", and click "Run the troubleshooter".
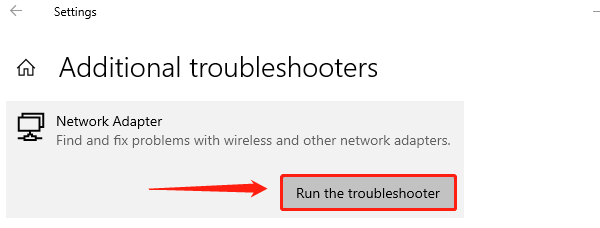
Follow the prompts to complete the troubleshooting; the system will automatically detect and fix network issues.
7. Contact Your Internet Service Provider (ISP)
Confirm if other users are experiencing similar issues by visiting the ISP's official website to check the service status.
If the problem persists, call your ISP's customer service hotline, describe the issue in detail, and seek technical support.
Before contacting the ISP, make a note of the troubleshooting steps you have tried to help the customer service representative assist you more quickly.
By following these steps, you should be able to effectively diagnose and resolve Ethernet issues. If the problem still exists, consider seeking professional technical support.
See also:
What to Do If You Install the Wrong Graphics Driver
8 Effective Solutions for Laptop Not Turning On