
Many Final Fantasy XIV players face DirectX errors, causing crashes or preventing the game from starting. This article offers effective solutions to fix these errors and improve your gaming experience.
1. Update Graphics Drivers
DirectX errors are often related to outdated or incompatible graphics drivers. To ensure the game runs smoothly, first, update your graphics drivers. We recommend using Driver Sentry to automatically detect driver updates, saving you time and avoiding the risks of downloading incorrect drivers.
Click the download button to get the latest version of Driver Sentry, install it, and then open the software to click "Scan".
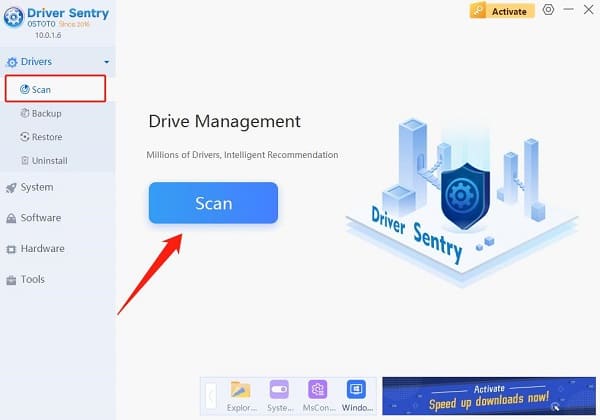
After the scan, it will show which drivers are missing or need updating. Find the graphics driver in the results list and click the "Update" button.
Once the update is complete, it's advisable to restart your computer to ensure the updated drivers take effect.
2. Disable Full-Screen Optimization
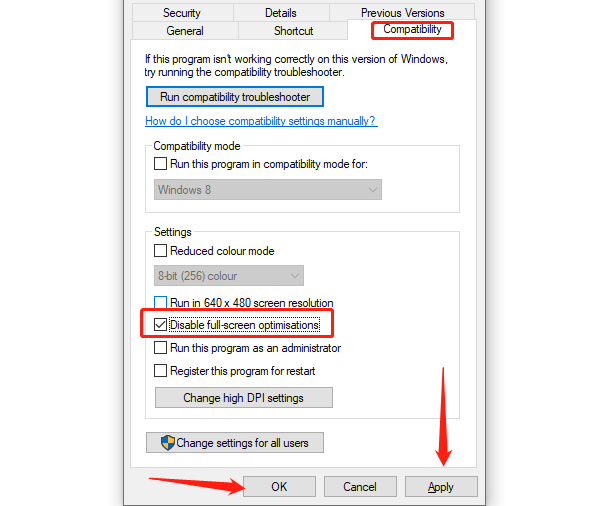
Right-click the shortcut or executable file for Final Fantasy XIV (usually ffxiv.exe or ffxiv_dx11.exe).
Select "Properties" and open the "Compatibility" tab.
Check "Disable Full-Screen Optimizations". Click "Apply" and confirm the changes.
3. Run the Game in DirectX 9 Mode
Launch the Steam client.
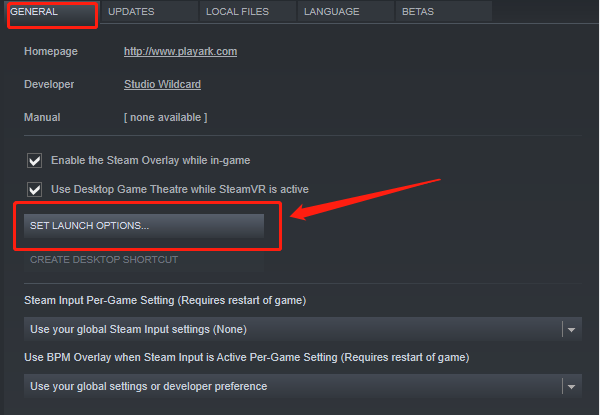
From the toolbar, select "Library" to open your game list, find Final Fantasy XIV, right-click it, and choose "Properties".
In the pop-up window, select the "General" tab. Click "Set Launch Options", type "dx9" in the box, and then click "OK" to confirm.
4. Adjust In-Game Graphics Settings
Start Final Fantasy XIV and, once in the game, open "System Configuration". Select "Graphics Settings".
Lower settings such as "Texture Quality", "Shadow Effects", "Anti-Aliasing", and "Lighting Effects".
Change "Window Mode" to "Windowed" or "Borderless Windowed" to help reduce issues related to full-screen mode.
Save the settings and restart the game to check if the DirectX error has disappeared.
5. Check System Files
Press Win + S, search for "Command Prompt". Right-click on Command Prompt and select "Run as administrator".
In the Command Prompt window, enter the following command and press Enter: sfc /scannow
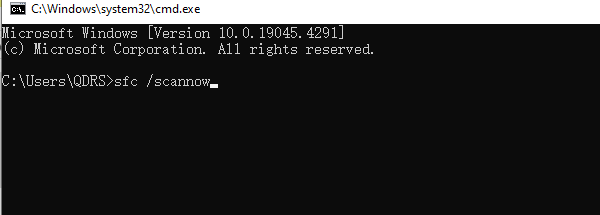
The system will automatically scan and repair any corrupted system files. Wait for the scan to complete, then restart your computer and try running the game.
6. Reset DirectX Configuration
Press Win + R, type "dxdiag", and press Enter to open the DirectX Diagnostic Tool.
In the DirectX Diagnostic Tool window, check the "Display" tab to see if DirectX features are enabled.
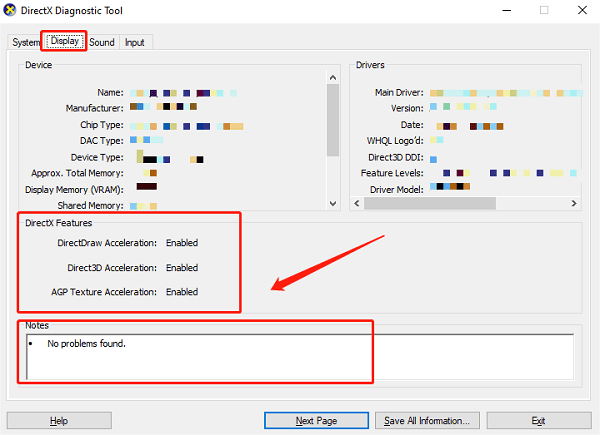
If you find any issues or disabled features, you can reset DirectX by:
Downloading and running the DirectX installer to reinstall DirectX.
This will overwrite existing DirectX files and reset the configuration.
7. Update Windows System
Press Win + I to open "Settings", and select "Update & Security".
Click "Check for updates" to let the system search for and install available Windows updates.
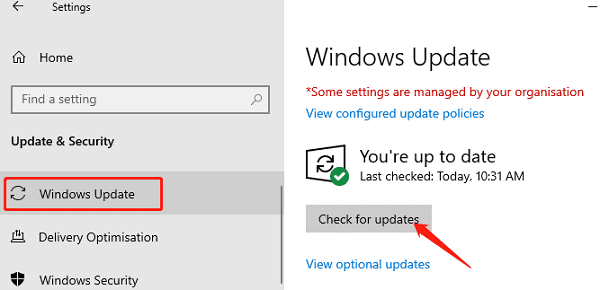
After the updates are complete, restart your computer and check if the DirectX error has been resolved.
By following these steps, you can resolve DirectX errors in Final Fantasy XIV, enhancing the game's stability and performance. If the issue continues, reach out to the Final Fantasy XIV technical support team for further assistance.
See also:
How to Fix Printer Driver Issues to Improve Office Efficiency
8 Methods to Fix Missing Sound Icon in Windows 10