When the Kernel32.dll file is corrupted or missing, it can cause apps to fail or the system to crash. This article explains how to fix the error and restore system stability.
1. Check for Driver Updates
Outdated or corrupted drivers can lead to Kernel32.dll errors in the Windows system. Ensuring your device drivers are up-to-date can effectively resolve this issue. It is recommended to use Driver Sentry to automatically detect driver updates, saving time and effort while avoiding the risk of downloading or installing incorrect drivers.
Click the download button to get the latest version of Driver Sentry. After installation, open the software and click on "Scan".

After the scan is complete, it will show which drivers are missing or need updating. Find the drivers that need updating in the results list and click the "Upgrade" button.
After the update is complete, it is recommended to restart your computer to ensure the updated drivers take effect.
2. Restart the Computer
Save your current work and close all programs.
Click the Start button and select "Restart".
After restarting your computer, check if the Kernel32.dll error still exists.
3. Run System File Scan
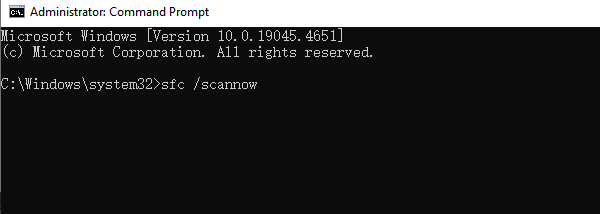
Press Win + S, type "Command Prompt" to search, right-click, and select "Run as administrator".
In the command window, enter the following command: sfc /scannow

Press Enter, and the system will begin scanning and automatically repairing corrupted system files.
The scan and repair process may take several minutes, depending on the system's performance and the severity of file corruption.
Once the repair is complete, restart the computer and check if the issue is resolved.
4. Use DISM Tool to Repair Windows Image
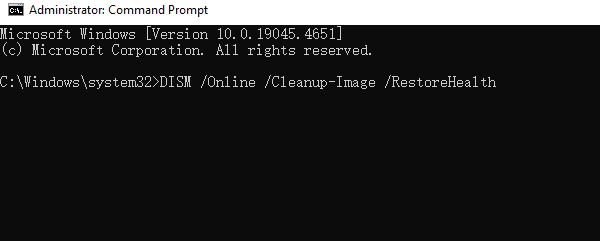
Press Win + S, type "Command Prompt" to search, right-click, and select "Run as administrator".
In the command window, enter the following command: DISM /Online /Cleanup-Image /RestoreHealth

Press Enter, and the DISM tool will begin scanning and repairing the Windows image.
The repair process may take 10-20 minutes or longer, depending on your system and network speed.
Once the process is complete, restart your computer and check if the Kernel32.dll error is fixed.
5. Check System Memory
Press Windows + R to open the Run dialog.
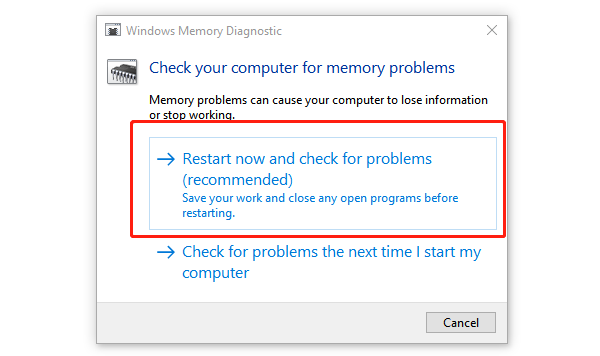
Type "mdsched.exe", then press Enter to open the Windows Memory Diagnostic tool.
Select "Restart now and check for problems". The computer will restart and begin checking the memory.

After the scan is complete, Windows will automatically report if there is an issue with the memory. If a problem is found, you may need to replace the faulty memory module.
6. Run a Virus Scan
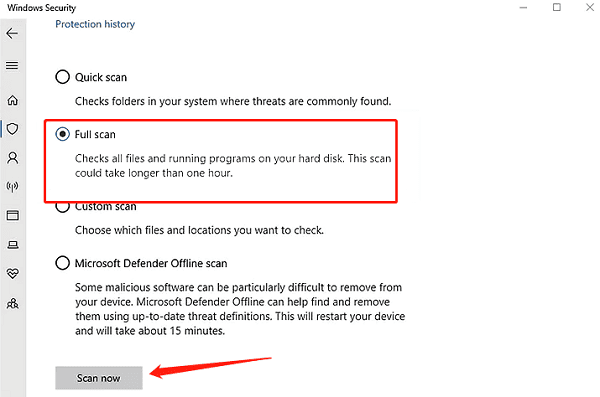
Open Windows Security Center, click "Virus & Threat Protection".
Choose "Quick Scan" or "Full Scan" (a full scan is more thorough but takes longer).

Wait for the scan to complete and remove any detected viruses or malware.
After the scan, restart your computer and check if the Kernel32.dll error is resolved.
7. Perform a System Restore
Press Windows + R to open the Run dialog, type "rstrui", and press Enter to open "System Restore".
In the System Restore wizard, choose a restore point (typically select the most recent one when no issues occurred).
Follow the prompts to complete the restore process. Your computer will restart and restore the system to the selected restore point.
After the system restore is complete, check if the Kernel32.dll error has been fixed.
Following these steps will help resolve the issue and restore normal system operation. If the problem continues, seek professional technical support.
See also:
Solutions for Rockstar Games Launcher Not Working
Methods to Fix Windows 10 Error Code 0x80072F8F