
If your laptop speakers are not producing any sound while you're watching videos, listening to music, or attending virtual meetings, it can impact your productivity and be quite frustrating. This article will guide you step by step through troubleshooting the issue and provide corresponding solutions.
1. Check the Volume Settings
Before diving into more complex troubleshooting, it's important to verify that your laptop's volume settings are correct. Sometimes, the problem may be as simple as the volume being muted or set too low.
Ensure the volume icon in the taskbar is not muted. If there is an "X" symbol on the icon, click it to unmute.
Increase the volume to an appropriate level and check if the issue is resolved.

2. Verify the Audio Output Device
If your laptop is connected to external speakers or Bluetooth devices, the audio might be routed to those devices instead of the built-in speakers.
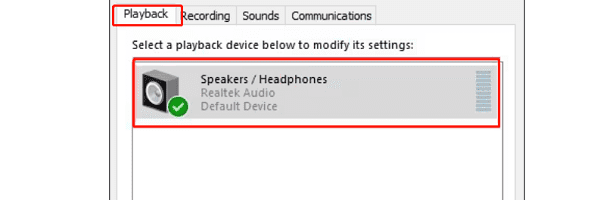
Right-click the volume icon in the taskbar and open "Sound settings" or "Playback devices".
Ensure that your built-in speakers are selected as the default output device.
If another device is selected, click on your built-in speakers and set them as the default output device.
3. Update or Reinstall Audio Drivers
Outdated or corrupted audio drivers are a common cause of sound issues on laptops. Driver Sentry is a useful tool that can help you automatically identify and update outdated or missing drivers, ensuring that your laptop's audio drivers are up to date.
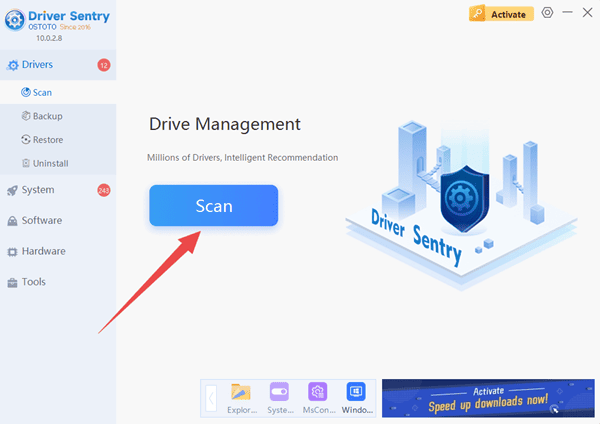
Download and install the Driver Sentry tool.
Open Driver Sentry and run a scan to check for outdated audio drivers.
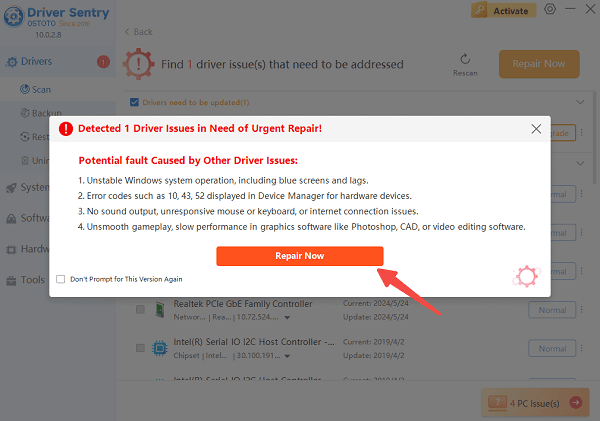
If outdated drivers are found, click the "Repair Now" button to download and install the latest audio drivers.
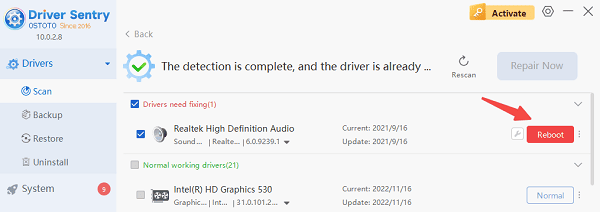
After the update is complete, reboot your laptop and test the speakers.
4. Restart the Audio Service
Sometimes, simply restarting the audio service can resolve issues with sound not working on your laptop.
Press Windows + R to open the Run dialog.
Type services.msc and press Enter to open the Services window.
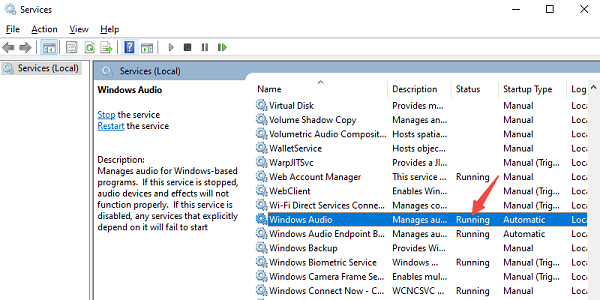
Find and right-click on "Windows Audio", then select "Restart" or "Start" the service (if the service is not running).
After restarting, test the speakers to see if they are working again.
5. Check for Software Conflicts
Certain applications or software may conflict with your laptop's audio output, causing no sound. This problem might arise after a software update or installation.
Close any unnecessary applications or background programs that may be occupying the audio device.
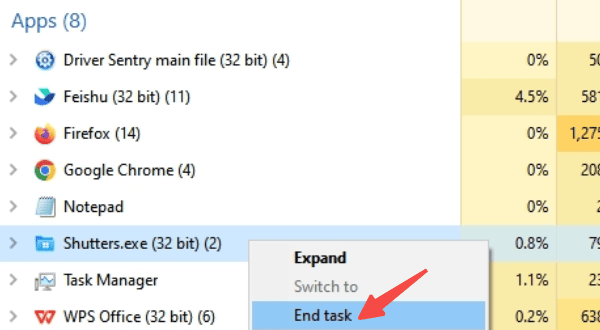
Disable or uninstall any third-party audio management software that might be interfering with the built-in drivers.
Restart your laptop and test the speakers again.
6. Check for Hardware Issues
If none of the above steps have resolved the problem, it is possible that there is a hardware issue with your laptop's internal speakers, such as damaged speaker components or loose connections.
Inspect the headphone jack for any debris or dust that could cause a short circuit or block audio output.
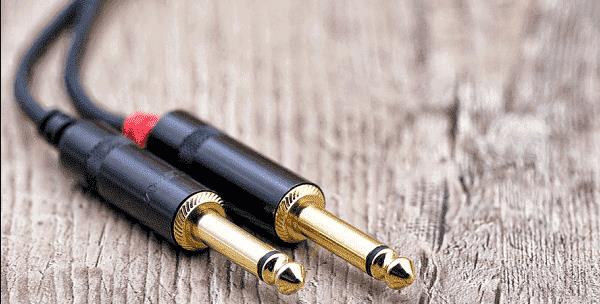
Test with external speakers or headphones. If external devices work but the internal speakers do not, you may need professional technical support for repairs.
By following the troubleshooting steps outlined in this article, you should be able to resolve most audio problems. If the problem persists, using tools like Driver Sentry to ensure your drivers are up to date can further optimize your laptop's audio system.
See also:
How to Fix WiFi Not Connecting to the Internet
6 Methods to Fix Wireless Network Adapter Disabled