Some Windows users may see the "LogiLDA.dll missing" error when using Logitech devices or software . This article offers several methods to fix the issue and restore normal functionality.
1. Check for Driver Updates
Outdated or corrupted drivers are one of the common causes of computer issues. Updating device drivers is an effective way to maintain system stability. We recommend using Driver Sentry to automatically detect and update drivers, saving time and avoiding the risk of downloading or installing incorrect drivers.
Click the download button to get the latest version of Driver Sentry. After installation, open the software and click "Scan".

Once the scan is complete, the list will display any drivers that need to be installed or updated. Find the driver that needs updating and click the "Upgrade" button.
After the update is complete, it's recommended to restart your computer to ensure the new drivers are applied properly.
2. Disable LogiLDA Process from Startup
Press Ctrl + Shift + Esc to open Task Manager.
Click the "Startup" tab and find the process named "Logitech Download Assistant" or "LogiLDA".
Right-click on this process and select "Disable".
Close Task Manager and restart your computer.
3. Run System File Checker (SFC)
Press Windows + S, type "Command Prompt", and select "Run as administrator".
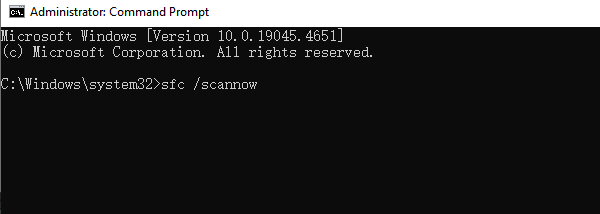
In the Command Prompt window, type the following command: sfc /scannow

Press Enter. The system will begin scanning and repairing any corrupted system files.
After the scan completes, restart your computer to check if the LogiLDA.dll missing error is resolved.
4. Download the Missing DLL File
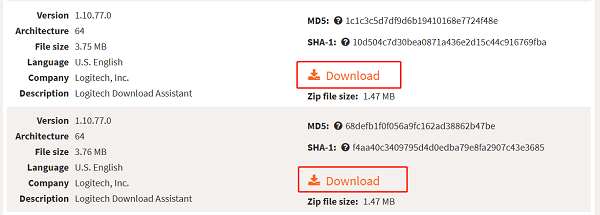
Visit a trusted DLL file download website, such as DLL-files.com.
Search for the LogiLDA.dll file and download the version that matches your system.

Once downloaded, copy the LogiLDA.dll file to the following directory:
For 64-bit systems: C:\Windows\System32
For 32-bit systems: C:\Windows\SysWOW64
Restart your computer and check if the error is fixed.
5. Delete Logitech Download Assistant Registry Key
Press Windows + R to open the Run dialog.
Type "regedit" and press Enter to open the Registry Editor.
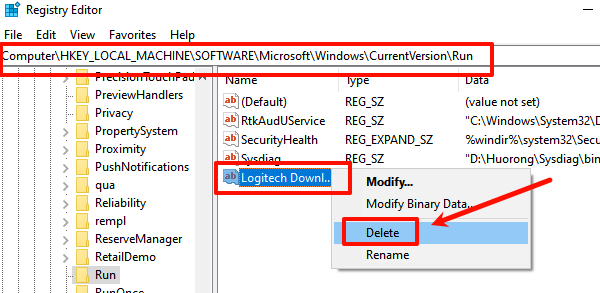
In the Registry Editor, navigate to the following path: Computer\HKEY_LOCAL_MACHINE\SOFTWARE\Microsoft\Windows\CurrentVersion\Run
Find the Logitech Download Assistant key, right-click it, and select "Delete".

Close the Registry Editor and restart your computer.
6. Uninstall and Reinstall Logitech Device Drivers
Press Windows + X and select "Device Manager".
Expand "Mice and other pointing devices" and find your Logitech device (such as a mouse or keyboard).
Right-click on the device and select "Uninstall device".
Restart your computer, and Windows will automatically reinstall the device driver.
Visit the Logitech official website, download, and install the latest Logitech drivers.
After installation, restart your computer and check if the LogiLDA.dll missing error is resolved.
By following these methods, you can fix the LogiLDA.dll missing error. If the issue persists, contact Logitech support for further assistance.
See also:
6 Ways to Fix Wireless Headphones Connected but No Sound
Fix Printer Offline Issue on Windows 10