If your Logitech webcam isn't working properly, this article provides simple solutions to help restore its normal functionality.
1. Check for Driver Updates
Drivers are an important link between the device and the operating system. Damaged or outdated drivers can cause the Logitech webcam to stop working. Updating the drivers is a key step in resolving the issue. We recommend using Driver Sentry to automatically detect and update drivers, saving time and avoiding the risk of downloading or installing incorrect drivers.
Click the download button to get the latest version of Driver Sentry. After installation, open the software and click "Scan".

After scanning, it will show which drivers are missing or need to be updated. Find the webcam device driver in the results list and click the "Upgrade" button.
After the update is complete, restart your computer to ensure the updated drivers take effect.
2. Check Hardware Connections
Ensure that the webcam is properly connected to the USB port on your computer. If it's a USB external webcam, try using a different port, especially one at the back of the computer's motherboard, and avoid using a USB hub.
If the cable connected to the webcam is damaged, the webcam may not work properly. Try replacing the USB cable and ensure it is not damaged.
For webcams with external power supplies, make sure the power supply is functioning correctly.
3. Check if the Webcam is Detected
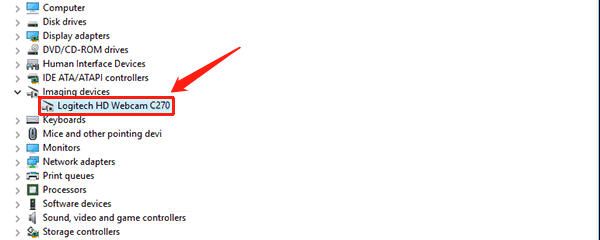
Press Windows Key + X and select "Device Manager".
Find "Imaging Devices" and double-click it to check if the Logitech webcam is detected.

If the Logitech webcam is still not detected, unplug the webcam, turn off your computer, reconnect the webcam, and restart your PC.
4. Check Privacy Settings
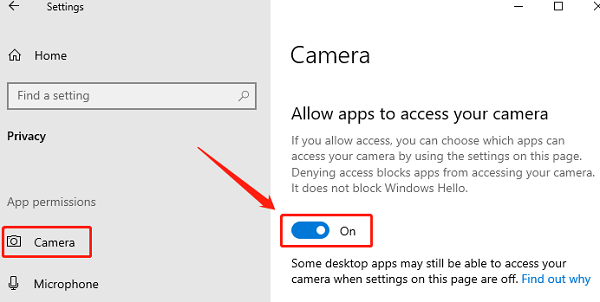
Press Win + I to open "Settings", then go to "Privacy".
In the left menu, select "Camera".
Ensure the option "Allow apps to access your camera" is turned on.

You can also scroll down to ensure specific apps, such as Skype or Zoom, are allowed to access the camera.
If the webcam is not working in certain apps, ensure these apps are permitted to access the camera in the Camera Access settings.
5. Run Hardware and Devices Troubleshooter
Press Win + S, type "cmd".
In the search results, right-click Command Prompt and select "Run as Administrator".
Type the following command and press Enter: msdt.exe -id DeviceDiagnostic
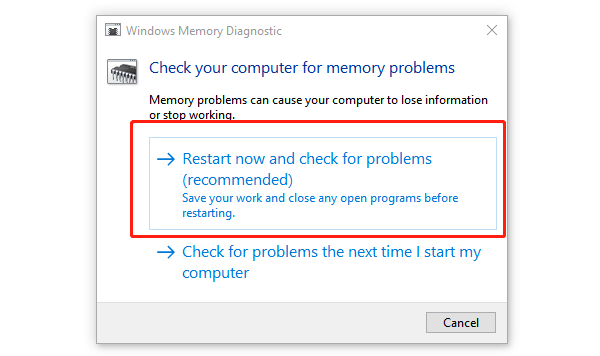
After executing the command, the Hardware and Devices Troubleshooter window will open. Click "Restart now and check for problems (recommended)".

Click "Next" to start the detection process, and the system will automatically scan and detect device issues.
Follow the on-screen prompts to complete the troubleshooting process.
If the system detects any issues, it will display repair options. Select Apply this fix to resolve the issue.
6. Reinstall Logitech Software
Press Windows Key + R, type "appwiz.cpl", then press Enter.
Right-click on Logitech Software, select "Uninstall", then choose "Drivers".

Once uninstalled, restart your webcam and check if it's compatible with your software.
If the issue persists, uninstall the entire Logitech software, then visit the Logitech website to download and install the latest version of the software for your webcam model.
After installation, restart your computer and check if the webcam is working properly.
Follow these methods to fix issues with your Logitech webcam. If the problem persists, contact Logitech support or a professional for help.
See also:
Fix the Realtek High Definition Audio Not Plugged In Error
6 Ways to Fix the Audio Service Not Responding Error