Many Windows users may encounter the issue of the mouse cursor disappearing. This article offers common solutions to quickly restore the cursor and normal functionality.
1. Check for Driver Updates
Outdated or corrupted drivers can cause the mouse cursor to disappear. Updating the mouse driver can effectively resolve driver conflicts or compatibility issues. We recommend using Driver Sentry to automatically detect and update drivers, saving you time and effort while also avoiding the risk of downloading or installing incorrect drivers.
Click the download button to get the latest version of Driver Sentry. After installation, open the software and click "Scan".

Once the scan is complete, it will show which drivers are missing or need updating. Find the mouse driver in the list and click the "Upgrade" button.
After the update is complete, it's recommended to restart your computer to ensure that the updated driver works properly.
2. Restart the Computer
Click the "Start" button in the bottom-left corner of the screen.
Select the "Power" icon and click "Restart".
Wait for the computer to restart automatically and check if the mouse is working again.
3. Check Mouse Connection
If you are using a Bluetooth mouse, ensure that Bluetooth is enabled and there is no signal interference between the mouse and the computer.
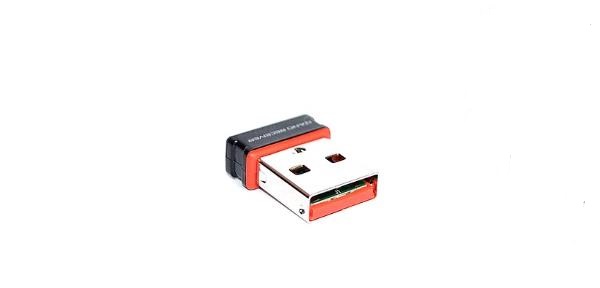
Check if the USB receiver for a wireless mouse is properly plugged into the computer's USB port.

Try inserting the USB receiver into another USB port on the computer to rule out port issues.
If other USB devices are connected, try disconnecting them to see if the mouse functions properly.
4. Re-enable the Mouse
Press Win + X and select "Device Manager".
In Device Manager, find "Mice and other pointing devices" and expand it.
Right-click the mouse device and select "Enable device" (if it says "Disable device").
Restart your computer and check if the mouse works correctly.
5. Unhide the Mouse Pointer
Open Settings (press Win + I), select "Devices", and click "Mouse".
In the "Mouse settings", find and click "Additional mouse options".
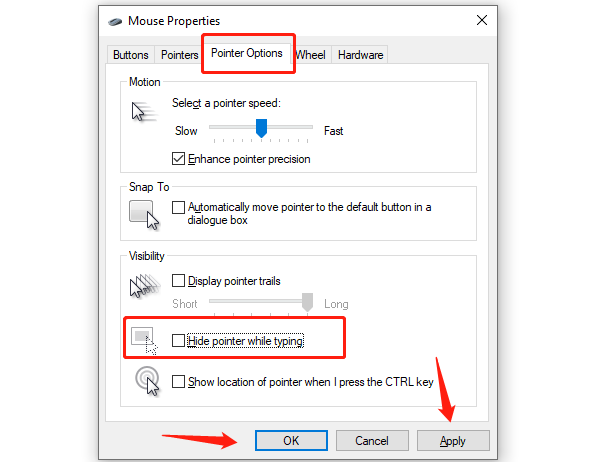
In the pop-up window, switch to the "Pointer" tab.
Ensure that "Hide pointer while typing" is not checked. If it is checked, uncheck it and click "Apply".

6. Run Hardware Troubleshooter
Press Win + S, type "cmd", and press Enter.
Right-click on "Command Prompt" in the search results and select "Run as administrator".
Type the following command and press Enter: msdt.exe -id DeviceDiagnostic
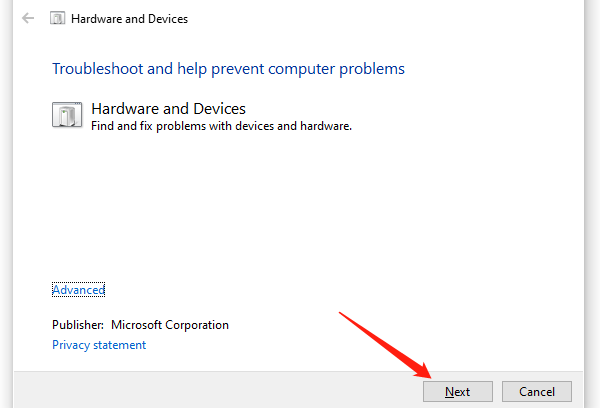
After executing the command, the "Hardware and Devices Troubleshooter" window will open.

Click "Next" to start the detection process. The system will automatically scan and detect device issues.
Follow the on-screen instructions to complete the troubleshooting process.
If the system detects any issues, it will display repair options. Choose "Apply this fix" to resolve the problem.
These steps should help resolve the mouse cursor issue. If the problem persists, consider replacing the mouse or contacting technical support.
See also:
How to Fix Corrupted System Files in Windows 10
Fixing Windows 11 Keeps Crashing