In Windows 10, slow internet speed is a common issue. This article provides a series of effective solutions to help you fix the problem and restore smooth network connectivity.
1. Check Hardware Connections
Ensure that the Ethernet cable is securely connected and that the router and modem are functioning properly.
Disconnect and reconnect the cable or wireless adapter to confirm there are no hardware issues.
Try plugging the cable into different ports on the router or computer, or test with a spare cable to check the connection quality.
2. Update Network Adapter Drivers
Outdated or corrupted network adapter drivers can cause slow speeds or disconnections. Updating your drivers can help improve the stability and speed of your network connection. It is recommended to use Driver Sentry to automatically detect and update drivers, saving time and avoiding the risk of downloading or installing incorrect drivers.
Click the download button to get the latest version of Driver Sentry, install it, and then open the software.
Click "Scan" to check for outdated drivers.

After the scan, locate the network adapter driver in the results list and click "Upgrade".
After updating, restart your computer to ensure the updated drivers take effect.
3. Disable Peer-to-Peer Updates
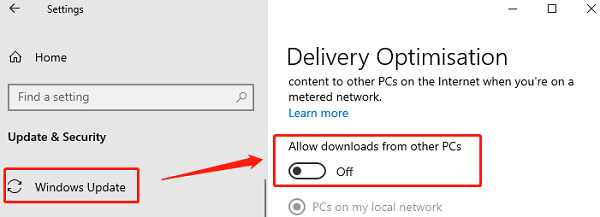
Open the Start menu and select Settings > Update & Security.
In the left menu, click Windows Update and then select Advanced Options.
Under the "Delivery Optimization" section, turn off the option "Allow downloads from other PCs" to reduce bandwidth usage.

4. Adjust Internet Bandwidth Settings
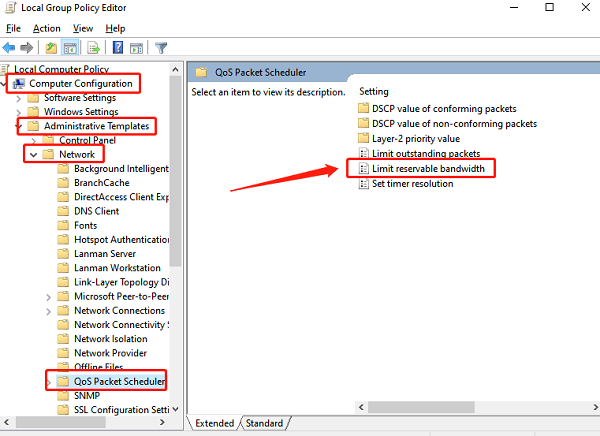
Press Windows + R, type "gpedit.msc", and press Enter to open the Local Group Policy Editor.
Navigate to Computer Configuration > Administrative Templates > Network > QoS Packet Scheduler.

Double-click Limit Reservable Bandwidth, enable the setting, and set the Bandwidth limit to 0%.
5. Disable Windows Auto-Tuning
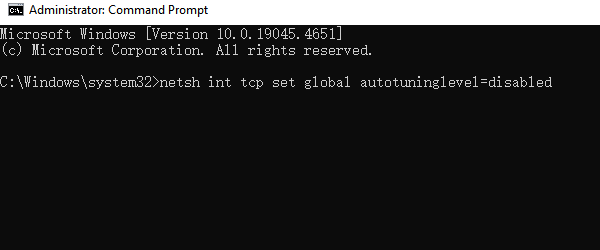
Search for cmd in the Start menu, right-click it, and select "Run as administrator".
Run the following command to disable auto-tuning:
netsh int tcp set global autotuninglevel=disabled

Restart your computer and check if the internet speed improves.
6. Adjust DNS Settings
Open the Start menu, go to Settings > Network & Internet > Network and Sharing Center.
Right-click the active network connection and select Properties.
Double-click Internet Protocol Version 4 (TCP/IPv4), select Use the following DNS server addresses, and input:
Preferred DNS server: 8.8.8.8
Alternate DNS server: 8.8.4.4
Confirm the settings and restart your network connection.
7. Use Network Troubleshooter
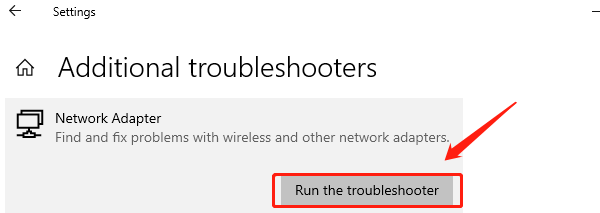
Go to Start > Settings > Update & Security > Troubleshoot.
Under "Additional Troubleshooters", select "Network Adapter" and click "Run the Troubleshooter".

The system will automatically detect and fix common network problems.
8. Adjust Wireless Network Settings
Right-click the Start menu and select Device Manager.
Find and right-click on your wireless network adapter, then select Properties.
Under the Advanced tab, adjust settings such as "Roaming Aggressiveness" and "Wireless Mode" as needed.
Click "OK" and restart your computer.
Follow these steps to optimize your network performance and resolve common connection issues. If the problem continues, contact your internet service provider or a technical expert for further help.
See also:
How to Fix Black Screen with Cursor Issue in Windows 11
How to Fix Scanner Not Working Issues