Sometimes, your keyboard may not work on a computer. This article offers effective solutions to help restore its functionality quickly.
1. Check Keyboard Connection
If you are using a wired keyboard, check that the USB plug is securely inserted into the computer's USB port. For wireless keyboards, ensure that the receiver is properly connected and that the batteries are sufficient.
Try connecting the keyboard to other USB ports to see if it works properly.
If you are using a USB extension cable, make sure it is functioning correctly and try connecting the keyboard directly to the computer.
2. Update Keyboard Driver
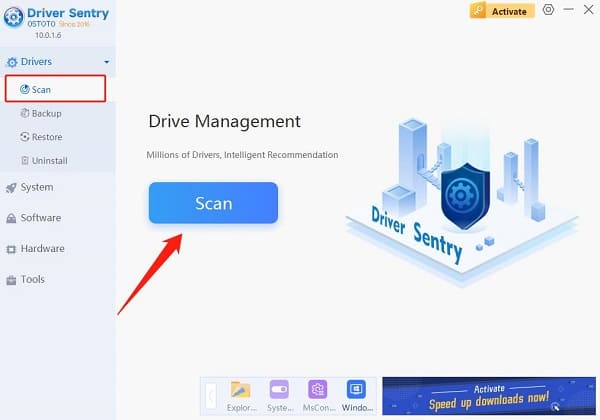
The keyboard driver may be outdated or corrupted, which can prevent the keyboard from functioning correctly. Updating the driver may help resolve this issue. It is recommended to use Driver Sentry to automatically detect and update drivers, saving time and avoiding the risk of downloading or installing incorrect drivers.
Click the download button to get the latest version of Driver Sentry, then open the software after installation and click "Scan".

After the scan is complete, it will display which drivers are missing or need updating. Find the keyboard driver in the results list and click the "Upgrade" button.
After the update is complete, it is advisable to restart the computer to ensure that the updated drivers take effect.
3. Restart Device
Ensure that all unsaved files are saved to avoid data loss.
Click the "Start" menu and select "Restart". After the restart, the keyboard may be re-recognized, potentially resolving the issue.
4. Set Up On-Screen Keyboard
Click the "Start" menu and then the "Settings" icon.
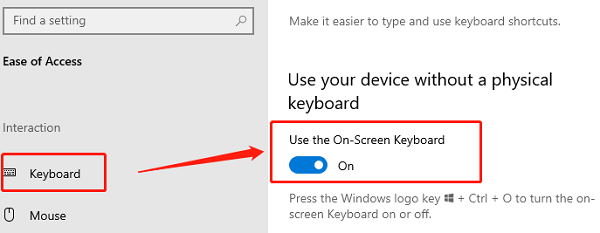
Select the "Ease of Access" option, then click on "Keyboard".
In the keyboard settings, enable the option for "Use the On-Screen Keyboard", allowing you to temporarily use the on-screen keyboard for input.

5. Disable Filter Keys and Sticky Keys
Click the "Start" menu and select "Settings" (gear icon).
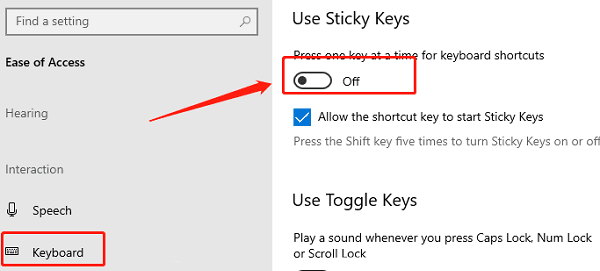
In the settings window, choose "Ease of Access", then find and click on "Keyboard" in the left menu.
In the keyboard settings page, locate the switch for "Use Filter Keys" and ensure it is turned off.
In the same page, find the option for "Use Sticky Keys" and make sure that switch is also off.

Close the settings window and test whether the keyboard has returned to normal functionality.
6. Disable Fast Startup (Windows 10 Only)
Type "Control Panel" in the search box and click to enter.
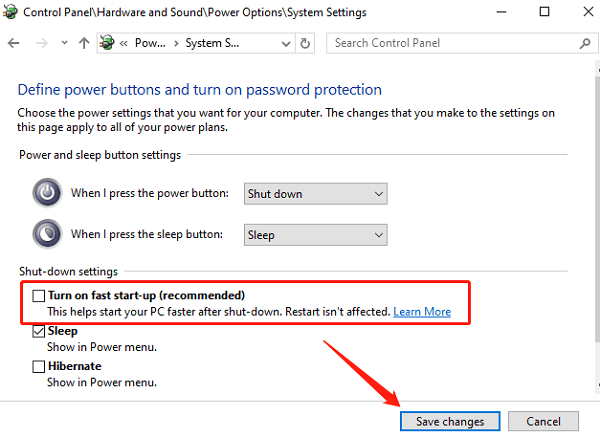
Click on "Power Options", then select "Choose what the power buttons do" on the left side.
Click "Change settings that are currently unavailable", then find the "Turn on fast start-up" option below and uncheck it.

Finally, click "Save changes".
7. Clean the Keyboard
If you have a wired keyboard, unplug it; for wireless keyboards, remove the batteries.
Use a slightly damp cloth to gently wipe the surface of the keyboard, ensuring there is no dust or dirt.
Use compressed air or a small brush to clean between the keys and remove dust and debris.
8. Try Another Keyboard
If you have a spare keyboard, try connecting it to the computer.
Check whether the other keyboard works normally to determine if the problem lies with the original keyboard.
By following these steps, you can effectively troubleshoot the keyboard typing issue. If the problem persists, consider contacting professional technical support or visiting a service center for assistance.
See also:
How to Fix Silent Hill 2 Remake Crashing
Fix Windows Boot Manager not showing in BIOS