In Windows 10, users may encounter the "Bad Image Error", which prevents programs from starting or causes error messages. This article provides effective solutions to fix the issue and restore normal use.
1. Check for Driver Updates
Sometimes, the Bad Image error is related to incompatible or outdated hardware drivers. Updating your drivers can help resolve this issue. We recommend using Driver Sentry to automatically detect and update drivers, saving time and avoiding the risk of downloading or installing incorrect drivers.
Click the download button to get the latest version of Driver Sentry. After installation, open the software and click "Scan".

Once scanning is complete, it will display the drivers that are either missing or outdated. Find the driver you need to update and click the "Upgrade" button.
After the update, restart your computer to ensure the updated drivers take effect.
2. Run System File Checker (SFC)
Press Win + S, type "Command Prompt", right-click the result, and select "Run as Administrator".
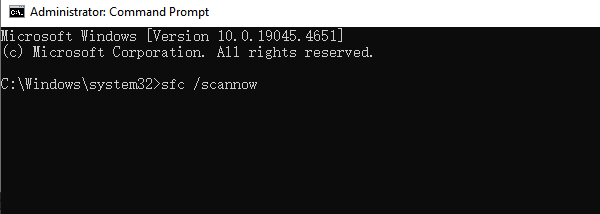
In the Command Prompt window, type the following command and press Enter: sfc /scannow

Wait for the system to scan and fix any corrupted system files. This process may take a few minutes.
Once the scan is complete, restart your computer and check if the "Bad Image" error is resolved.
If SFC cannot fix the problem, you can proceed to use the DISM tool for a deeper repair.
3. Run DISM Tool
Press Win + S, type "Command Prompt", right-click the result, and select "Run as Administrator".
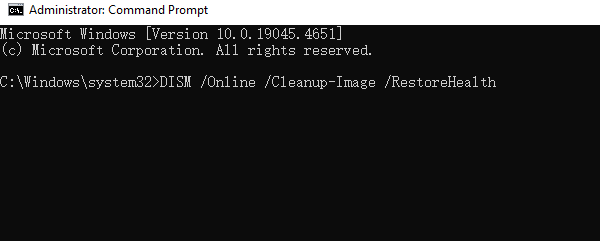
In the Command Prompt window, type the following command and press Enter: DISM /Online /Cleanup-Image /RestoreHealth

Wait for the DISM tool to scan and fix errors in the Windows image. This process may take some time depending on the system and network conditions.
Once the repair is complete, restart your computer and check if the "Bad Image" error is resolved.
4. Uninstall Problematic Windows Updates
Press Win + I to open "Settings".
Select "Update & Security" and click "Windows Update".
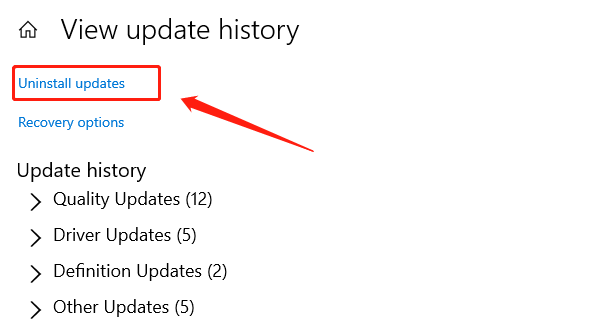
Click "View update history".
On the update history page, find and click "Uninstall updates".

Look for and select the most recent updates, and click "Uninstall".
After the uninstallation is complete, restart your computer and check if the "Bad Image" error is resolved.
5. Reinstall Problematic Apps
Press Win + I to open "Settings".
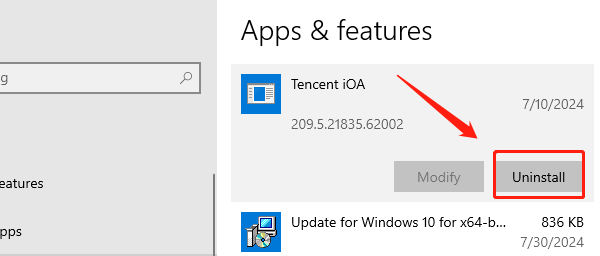
Select "Apps" and click "Apps & Features".
Find and select the problematic app from the list and click "Uninstall".

After uninstallation, visit the app's official website or the Microsoft Store to download and reinstall the app.
Once reinstalled, check if the app is working properly and if the "Bad Image" error has disappeared.
6. Perform System Restore
Press Win + S, type "Create a restore point".
In the "System Protection" tab, click "System Restore".
Choose a restore point before the "Bad Image" error occurred.
Follow the prompts to complete the system restore process, and the computer will automatically restart.
After the system restore is complete, check if the "Bad Image" error is resolved.
By following these steps, you should be able to fix the "Bad Image" error in Windows 10. If the problem persists, it is recommended to seek professional help.
See also:
Fix the Realtek High Definition Audio Not Plugged In Error
6 Ways to Fix the Audio Service Not Responding Error