
After the Windows 11 update, many users encounter Blue Screen of Death (BSOD) issues. This article provides a series of effective methods to help you fix this problem and improve system stability.
Method 1: Update Drivers
Outdated or incompatible drivers are a common cause of BSOD. Try updating your drivers to resolve the issue. We recommend using Driver Sentry to automatically detect and update drivers, saving time and avoiding the risk of downloading or installing incorrect drivers.
Click the download button to get the latest version of Driver Sentry, install it, and then open the software to click "Scan".
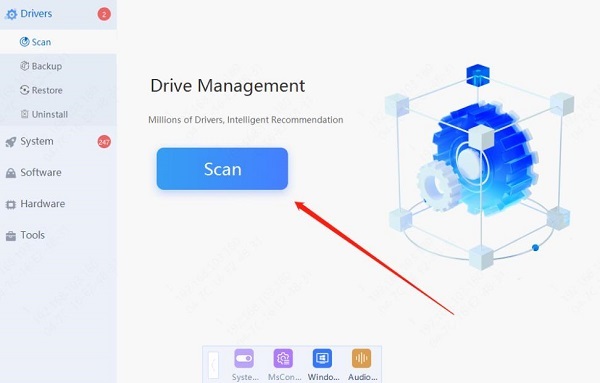
After the scan is complete, it will show which drivers are missing or need updating. Find the graphics driver in the results list and click the "Update" button.
Once the update is complete, restart your computer to ensure the new drivers take effect.
Method 2: Uninstall Recent Updates
Click the Start menu and select "Settings" (gear icon).
In the settings window, click "Update & Security".
From the left menu, select "Windows Update", then click "View update history".
Click the "Uninstall updates" link, find the recent update, select it, and click the "Uninstall" button.

After uninstallation, restart your computer to check if the issue is resolved.
Method 3: Boot into Safe Mode
At the login screen, hold the Shift key and select "Restart".
In the menu that appears, choose "Troubleshoot".
Next, select "Advanced options".
Click "Startup Settings", then select "Restart".
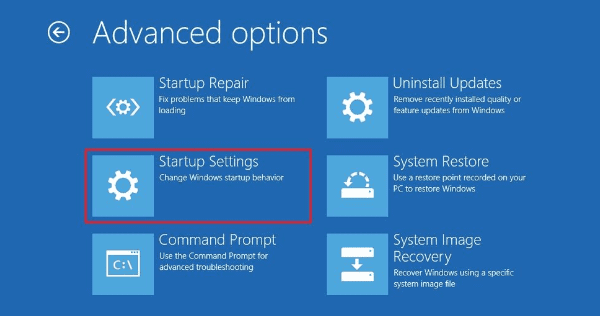
After the restart, press the number key 4 or 5 to enter Safe Mode or Safe Mode with Networking.
Method 4: Disable Fast Startup
Press Win + R, type "control", and hit Enter.
Click "Hardware and Sound", then "Power Options".
From the left menu, select "Choose what the power buttons do".
Click "Change settings that are currently unavailable".
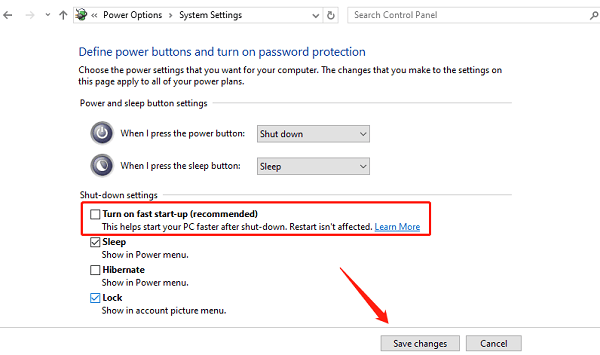
Under "Shutdown settings", uncheck "Turn on fast startup", click "Save changes", and restart your computer.
Method 5: Run System File Checker
Press Win + X and select "Windows Terminal (Admin)" or "Command Prompt (Admin)".
In the command window, type "sfc /scannow" and press Enter.
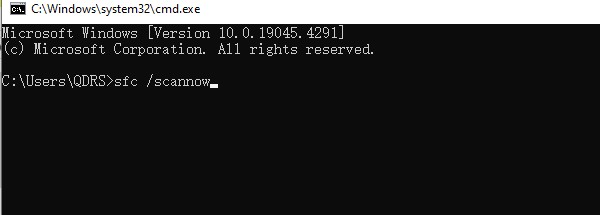
The system will scan and automatically repair any corrupted files. Restart your computer once completed.
Method 6: Check for Hardware Issues
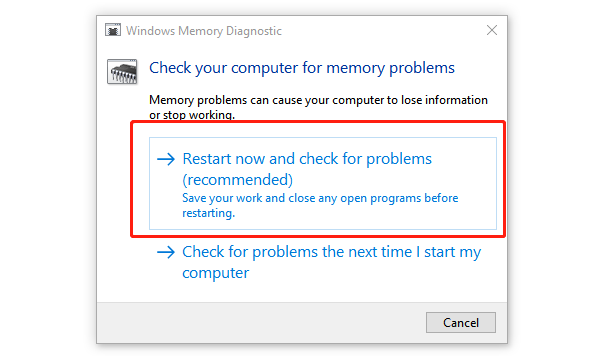
Use the Windows Memory Diagnostic tool. Press Win + R, type "mdsched.exe", and select to restart and check for problems.
Open Command Prompt and type "chkdsk /f /r", then press Enter. The system will prompt you to check the disk on the next restart, confirm and then restart your computer.
Right-click "Start", select "Device Manager", and check for any devices with a yellow exclamation mark. Update or uninstall any problematic drivers.
Method 7: System Restore
Click the Start menu and select "Settings".
Choose "Update & Security".
In the left sidebar, select "Recovery".
Under "Advanced startup", click "Restart now" to enter the troubleshooting menu.
Select "System Restore", and follow the wizard to choose a restore point and complete the recovery process.
By following these steps, you can effectively troubleshoot and resolve Blue Screen issues. If the problem persists, consider contacting professional tech support or Microsoft customer service for further assistance.
See also:
8 Common Solutions for No Internet Connection
How to Download and Install Wireless Network Card Drivers