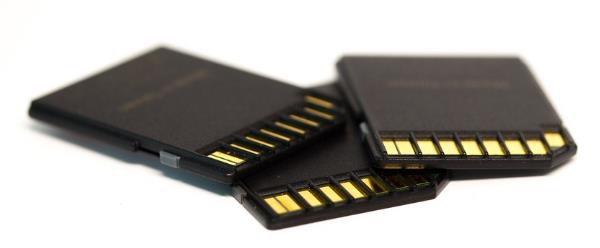
When using an SD card for file storage, you may need to format it. This article outlines the steps to quickly format an SD card on Windows.
Routine Computer Maintenance
Outdated, corrupted, or incompatible drivers can lead to performance issues, hardware malfunctions, or system crashes. We recommend using Driver Sentry to automatically detect driver updates, saving time and avoiding the risk of downloading or installing incorrect drivers.
Click the download button to get the latest version of Driver Sentry. After installation, open the software and click "Scan".

Once the scan is complete, it will display any drivers that are not installed or need updating. Find the driver that needs updating in the results list and click the "Upgrade" button.
After the update is complete, it is advisable to restart your computer to ensure the updated drivers function properly.
Step 1: Preparation Before Formatting the SD Card
Before formatting the SD card, ensure you back up all important files. Formatting will erase all data on the SD card and it cannot be recovered.
Confirm the type of SD card (e.g., SD, SDHC, SDXC) and its capacity, ensuring your device supports formatting that type of SD card.
If your computer does not have an SD card slot, prepare a compatible USB card reader.
Step 2: Insert the SD Card
Insert the SD card into the computer's SD card slot or connect it via a card reader to a USB port.
Ensure the SD card is properly inserted and check if the computer recognizes it.

Step 3: Open Disk Management
Right-click the "Start" menu and select "Disk Management".
In the Disk Management window, you will see all connected storage devices, including the SD card.
Step 4: Format the SD Card
Locate your SD card in Disk Management, which usually displays as "Removable Disk".
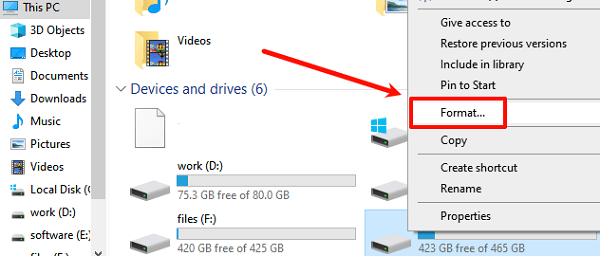
Select the "Format" option.

Choose the file system format, typically "FAT32" or "exFAT", based on your usage needs.
You can keep the default settings, which usually do not need to be changed.
You may optionally set a name for the SD card.
Check "Perform a quick format" to speed up the formatting process.
After confirming that all settings are correct, click "OK" to begin formatting.
Step 5: Wait for the Formatting to Complete
The system will begin formatting the SD card; this process may take a few seconds to a few minutes, depending on the size of the SD card.
Once formatting is complete, the system will pop up a message indicating success.
Step 6: Check the SD Card
Open "This PC" or "My Computer" to confirm that the SD card is displayed and accessible.
Try creating a new file or folder on the SD card to ensure you can read and write data normally.
After completing your operations, right-click the SD card icon and select "Eject" to safely remove the SD card.
By following these steps, you can successfully format your SD card. If you encounter any issues during the process, it is advisable to check the physical condition of the SD card or contact relevant technical support.
See also:
How to Fix Dread Hunger Crashing Issues
8 Methods to Fix Persistent Crashes in Ghostwire: Tokyo