Changing the font on your Windows 11 computer can help personalize your experience and make your screen more visually appealing. In this guide, we'll walk you through the steps to change fonts on Windows 11 and resolve common computer font issues.
1. How to Change Computer Font
Step 1: Open Settings
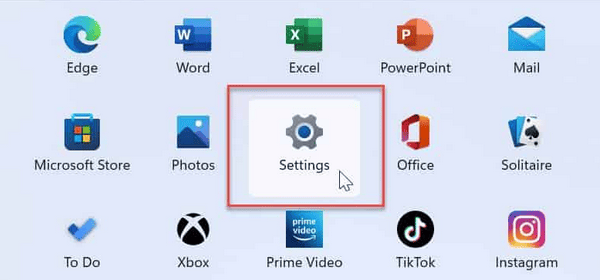
Click on the Start menu or press the Windows key. Select Settings.

Step 2: Access Personalization Settings
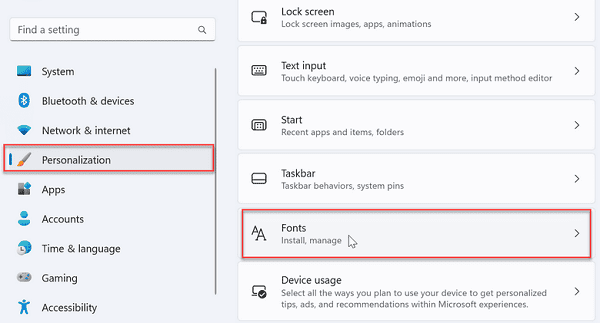
In the Settings window, click on Personalization from the left sidebar.
Next, select Fonts.

Step 3: Choose Your Desired Font
In the Fonts menu, you’ll see a list of installed fonts.
Browse through the available fonts and click on any font to see a preview.
If you want to install a new font, you can download it from the Microsoft Store or a trusted website. Once downloaded, click on the font file and select Install.
Step 4: Change System Font (Optional)
Changing the system font is a bit more complex as it involves modifying the registry. Follow these steps carefully:
Press Windows + R to open the Run dialog.
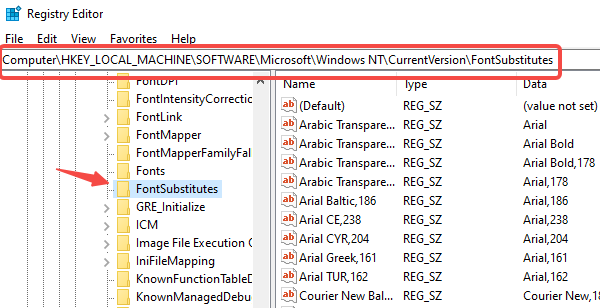
Type regedit and press Enter to open the Registry Editor.
Navigate to the following path:
HKEY_LOCAL_MACHINE\SOFTWARE\Microsoft\Windows NT\CurrentVersion\FontSubstitutes

Right-click on the right pane and select New > String Value.
Name the new value "Segoe UI" and set its value to the name of your desired font (make sure it's installed).
Close the Registry Editor and restart your computer for the changes to take effect.
Step 5: Adjusting Font Size
If you want to adjust the font size:
Go back to Settings > Personalization > Fonts.
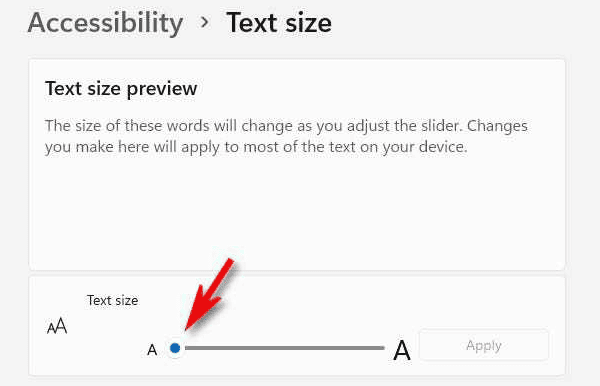
Scroll down to Font size and use the slider to adjust the size according to your preference.

Step 6: Reverting Changes
If you want to revert back to the default font:
Return to the Registry Editor.
Delete the string value you created for the font substitution.
Restart your computer.
2. Solution for Computer Font Issues
If you encounter issues with fonts displaying incorrectly or fonts that cannot be installed, it may be due to outdated or corrupted drivers. To simplify this process, you can use Driver Sentry to update your computer's drivers, ensuring they are all up to date.
Download and install the latest version of Driver Sentry.
Open Driver Sentry and click on Scan to start detecting your computer's hardware devices and drivers.

If any driver issues are found, such as with the graphics card driver, click on Repair Now.

After all drivers have been updated, restart your computer to ensure the new drivers take effect.
Changing fonts on Windows 11 is not only a way to personalize your computing experience but can also enhance readability and comfort. By following the steps outlined in this guide, you can easily change and manage your system's fonts.
See also:
How to Fix Wireless Mouse Connection Failure
How to Fix Blue Screen After Windows 11 Update