A virtual sound card lets users simulate a physical sound card using software, providing greater flexibility for audio processing. This article offers a step-by-step guide to installing a virtual sound card on Windows for a smooth setup.
Preparation Before Installation
Drivers act as a crucial bridge between the operating system and hardware, coordinating and managing the operation of various devices. Keeping your drivers up-to-date is key to ensuring stable computer performance. Driver Sentry is a professional driver management software that assists users in installing, updating, and upgrading their computer's drivers. With Driver Sentry, you can automatically detect and update drivers, saving time and avoiding the risk of downloading or installing incorrect drivers.
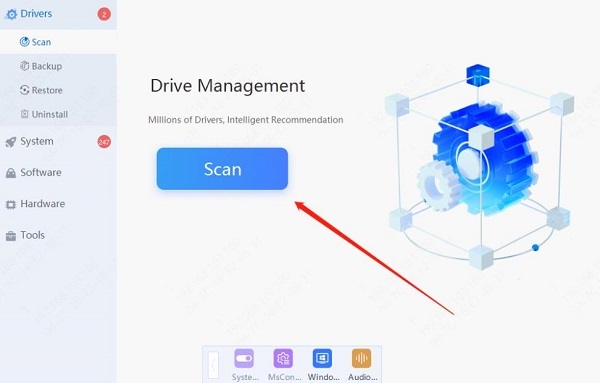
Click the download button to get the latest version of Driver Sentry. After installation, open the software and click "Scan".

Once the scan is complete, it will display any drivers that are missing or need updates. Locate the sound card driver in the list and click the "Update" button.
After updating, it's recommended to restart your computer to ensure the updated drivers take effect.
What is a Virtual Sound Card
A virtual sound card is a software application that simulates the functionality of a physical sound card, processing and transmitting audio signals. It is widely used in recording, online streaming, and audio editing, enabling users to perform multiple audio tasks without needing a physical sound card.

Steps to Install a Virtual Sound Card
Step 1: Choose a Virtual Sound Card Software
Select the virtual sound card software that best suits your needs and usage scenario.
Step 2: Download and Install the Software
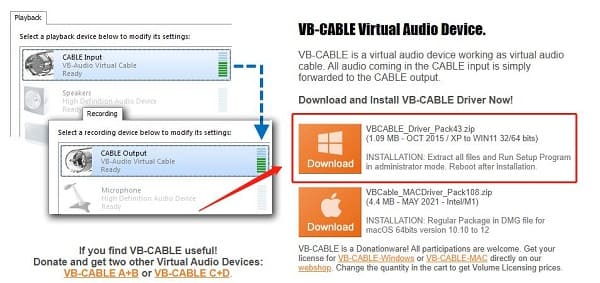
Visit the official website or a trusted download site to find and download the latest version of the chosen virtual sound card software. Ensure the installation package is compatible with your version of Windows.

Double-click the downloaded file to start the installation wizard.
Follow the on-screen prompts, choosing the installation path and settings.
After installation, you may need to restart your computer to activate the software.
Step 3: Configure the Virtual Sound Card
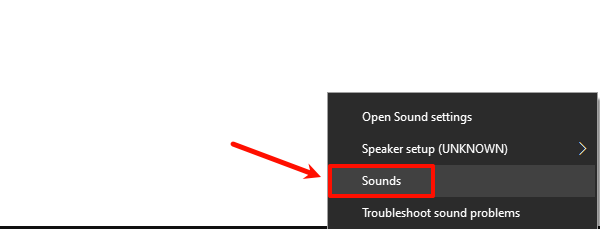
Open the Control Panel and go to "Sounds" settings.

In the "Playback" or "Recording" tab, you should see the newly installed virtual sound card.
Right-click the virtual sound card and select "Set as Default Device" for audio output or input.
Adjust volume and other settings as needed.
Step 4: Test the Virtual Sound Card
Use recording software or an audio player to test the functionality of the virtual sound card. You can try recording audio or playing different sound sources to verify that the settings are correct.
Important Notes
Before installing a virtual sound card, make sure your Windows system is updated to avoid compatibility issues.
Virtual sound cards may cause audio latency, especially when processing high-quality audio. This can be adjusted through the software settings.
Virtual sound cards consume system resources, so ensure your computer has sufficient performance to run the software smoothly.
By following this guide, you should be able to install and configure a virtual sound card successfully. If you encounter any issues during use, refer to the software's official documentation or seek assistance from online communities.
See also:
Steps to Enable a Disabled Computer Network
How to Fix an Unreadable USB Drive
A Guide to Updating Bluetooth Drivers
How to Maintain High FPS and Smooth Gameplay Without Stuttering