WIFI cannot connect to the network. This not only prevents us from accessing the Internet, but also may affect our work and entertainment. In this article, we will detail some common solutions to help you quickly solve the problem of WIFI can't connect.
1. Check WIFI Settings
First of all, we need to make sure the WIFI settings are correct. You can check it through the following steps:
In the device settings, make sure the WIFI function is turned on. Sometimes we will accidentally turn off the WIFI function, resulting in failure to connect.
Make sure you have selected the correct WIFI network and entered the correct password. If you are not sure about the password, try resetting the router and resetting the password.
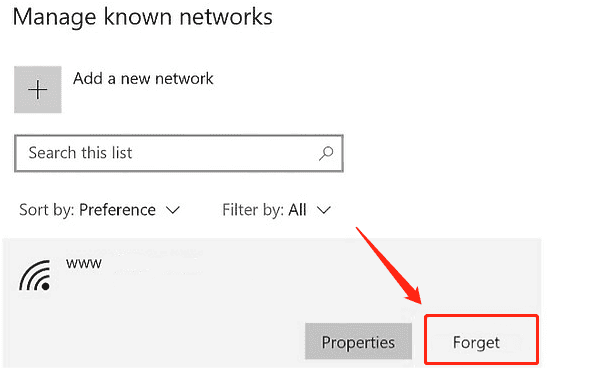
If there may be a problem with the WIFI network configuration, try forgetting the network and reconnecting. Go to WIFI option in Settings, select the network you want to connect to, click "Forget", and then re-enter the password to connect.

2. Check Router Settings
If there is no problem with the device settings, we need to check the router settings next:
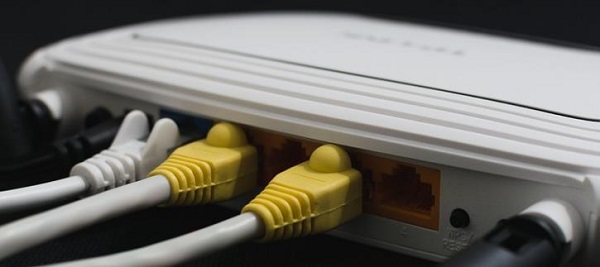
Rebooting the router is the easiest and most common method. Disconnect the router, wait for a few seconds and then reconnect the power. Rebooting the router can solve many temporary problems.
Check the indicator lights on your router to make sure that the power, WIFI, and internet lights are working properly. If you find that one of the indicator lights is abnormal, you can refer to the router's user manual or contact your vendor for assistance.
The router's firmware may need to be updated. Access the router's management interface to check if there is a firmware update available. If available, follow the instructions to update.
3. Update Driver
Driver issues may cause the WIFI to fail to connect to the network. Using Driver Sentry can save time by automatically detecting and updating drivers, reducing the risk of downloading or installing incorrect ones.
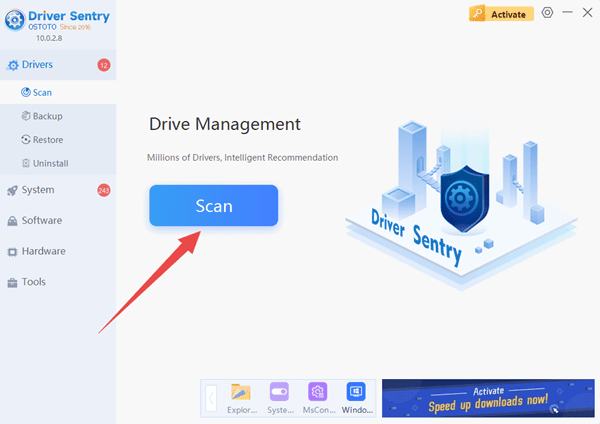
Download the latest version of Driver Sentry, install it, open the software, and click "Scan".

Locate the network driver in the results list and click "Upgrade".
After updating, restart your computer to ensure the new drivers take effect.
4. Make Sure the Signal is Stable
Sometimes, an unstable WIFI signal can lead to the problem of not being able to connect. You can enhance the signal stability by the following methods:
The device is too far away from the router may result in a weak or unstable signal. Try to get closer to the router and make sure there are not too many obstacles in between.
If there are multiple rooms in your home and the router has limited coverage, consider using a WIFI signal booster or repeater to enhance signal coverage.
In the router settings, you can manually select a channel with less interference. Use a mobile application or computer software to scan for WIFI channels around you and select a more free channel to set up.

5. Check Network Configuration
Sometimes, wrong network configuration can also cause WIFI not to connect. You can check and adjust the configuration by the following methods:
Ensure that the IP address of the device is set to Obtain Automatically. In the network settings, select Obtain IP address and DNS server address automatically to avoid manual configuration error.
Sometimes DNS cache can cause network connection problems. You can try to clear the DNS cache by opening a command prompt, typing 'ipconfig /flushdns' and pressing enter.
If all the above methods fail to solve the problem, you can try resetting the network settings. Go to your device's network settings and find the option to reset network settings, this will restore the network settings to factory defaults.
6. Check the Network Service Provider
Sometimes, the problem may be with the Internet Service Provider (ISP). This can be checked by the following method:
If you find that all your devices are unable to connect to the network, the ISP may be at fault. You can contact the ISP customer service and ask if there is any network outage or maintenance.
Visit the ISP's official website to check the current service status. Many ISPs will post information about service outages or maintenance on their websites.
Above is the way in solving the WIFI can't connect to this network problem, hope it is helpful for you.
See also:
9 Methods to Fix Screen Flickering After Windows 10 Update
Guide to Boot into Safe Mode in Windows 10