Many Windows 10 users may encounter the 0x80072F8F error code. This article provides effective solutions to help you resolve this issue quickly.
1. Check Driver Updates
Outdated or corrupted drivers can cause the 0x80072F8F error code. Regularly updating your drivers can help prevent this issue. Using Driver Sentry to automatically detect and update drivers is recommended, as it saves time and avoids downloading or installing incorrect drivers.
Download the latest version of Driver Sentry, install it, and open the software. Click "Scan".

After the scan, review the list of missing or outdated drivers, find the necessary updates, and click "Upgrade".
Restart your computer after the updates to ensure the changes take effect.
2. Adjust System Time
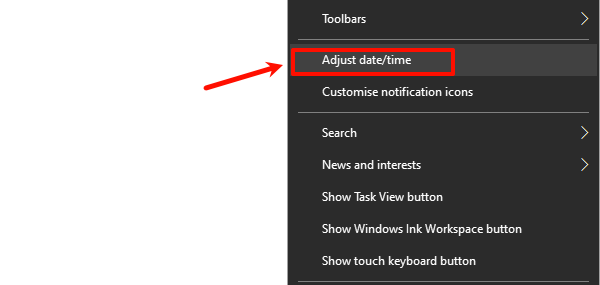
Right-click the date and time on the taskbar and select "Adjust date/time".

In the settings, ensure "Set time automatically" and "Set time zone automatically" are enabled.
If automatic settings fail, manually adjust the date and time to match your current location.
Restart your computer and attempt the update again.
3. Install Root Certificate Updates
Open the Start menu, select "Settings" > "Update & Security" > "Windows Update".
Click "Check for updates" to scan for and install any available updates.
Visit the official Microsoft website to download and install the latest root certificate updates. These updates are often available in the Windows update history or the Microsoft Update Catalog.
Restart your computer after installation to apply the updates.
4. Repair System Files
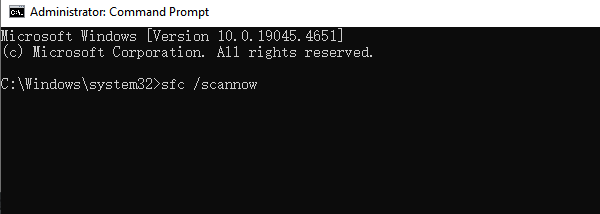
Press Win + S, search for "Command Prompt", and select "Run as administrator".
Enter the following command and press Enter: sfc /scannow

This scans and repairs corrupted system files.
After the scan, run the following command to repair the system image: DISM /Online /Cleanup-Image /RestoreHealth
Restart your computer after the process is complete.
5. Modify Registry Values
Press Win + R, type "regedit", and press Enter to open the Registry Editor.
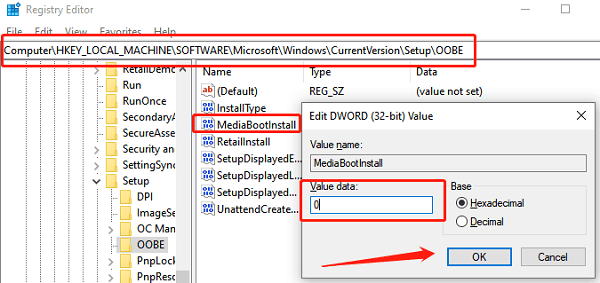
Navigate to: HKEY_LOCAL_MACHINE/SOFTWARE/Microsoft/Windows/CurrentVersion/Setup/OOBE
Locate the "MediaBootInstall" entry, right-click it, and select "Modify".
Change its value from 1 to 0, and click "OK".

Close the Registry Editor and restart your computer.
Open Command Prompt with administrator privileges and run: slmgr /rearm
If the command is successful, click OK and restart your computer to apply the changes.
6. Temporarily Disable the Firewall
Press Win + S and search for "Windows Defender Firewall".
Click "Turn Windows Defender Firewall on or off" in the left menu.
Select "Turn off Windows Defender Firewall (not recommended)" for both private and public networks.
Retry the activation or update process.
If successful, add the activation or update services to the firewall's exception list and re-enable the firewall.
7. Run Windows Update Troubleshooter
Press Win + I, go to "Settings" > "Update & Security".
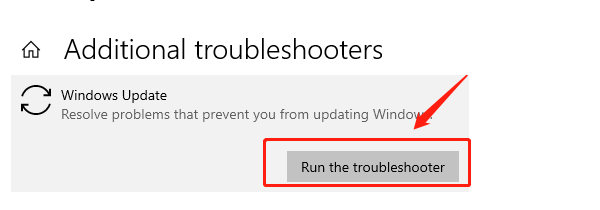
Select "Troubleshoot" > "Additional troubleshooters".
Find "Windows Update" and click "Run the troubleshooter".

The system will scan for and resolve any issues. After completing the troubleshooting, try activating or updating Windows again.
Following these steps should help resolve the 0x80072F8F error in Windows 10. If the issue persists, contact Microsoft Support or a professional technician.
See also:
Resolve the Realtek High Definition Audio Not Plugged In
How to Fix Windows 10 'Audio Device is Disabled' Issue