Some Windows 10 users may encounter frequent system crashes. This article provides a series of solutions to help you quickly resolve the issue.
1. Check for Driver Updates
Outdated or corrupted drivers may cause Windows 10 to crash repeatedly. It's recommended to check for updates to your device drivers to prevent such issues. Using Driver Sentry to automatically detect and update drivers can save time and reduce the risk of installing incorrect drivers.
Click the download button to get the latest version of Driver Sentry. After installation, open the software and click "Scan".

The scan will display drivers that are outdated or missing. Locate the drivers that need updates and click the "Upgrade" button.
Restart your computer after completing the updates to ensure the drivers function properly.
2. Check for Hardware Issues
Check Memory (RAM):
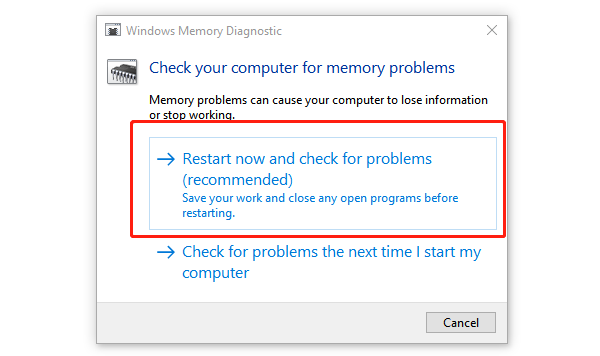
Press Windows + R, type "mdsched.exe", and press Enter to open the Windows Memory Diagnostic tool.
Select "Restart now and check for problems", and the tool will check for memory issues during the reboot.

If problems are detected, you may need to repair or replace the faulty RAM.
Check Hard Drive:
Search for "Command Prompt", right-click the result, and choose "Run as Administrator".
Enter the following command and press Enter: chkdsk /f /r
This command will scan for and repair errors on the hard drive.
3. Repair System Files
Run the System File Checker (SFC):
Press Windows + S, type "Command Prompt", and select "Run as Administrator".
Enter the following command and press Enter: sfc /scannow
Wait for the system to scan and repair corrupted system files. After the process is complete, restart your computer to check if the issue is resolved.
Run the DISM Tool:
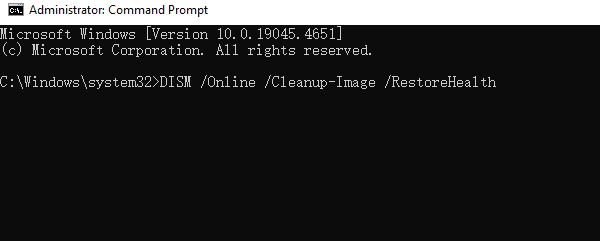
If SFC doesn't resolve the problem, use the Deployment Image Servicing and Management (DISM) tool to repair the Windows image.
Open Command Prompt (Admin) and enter the following command: DISM /Online /Cleanup-Image /RestoreHealth

Wait for the command to execute and restart your computer afterward.
4. Disable Link State Power Management
Press Windows + R to open the Run dialog, type "control", and press Enter to open the Control Panel.
Click "Hardware and Sound", then select "Power Options".
Choose "Change plan settings", and click "Change advanced power settings".
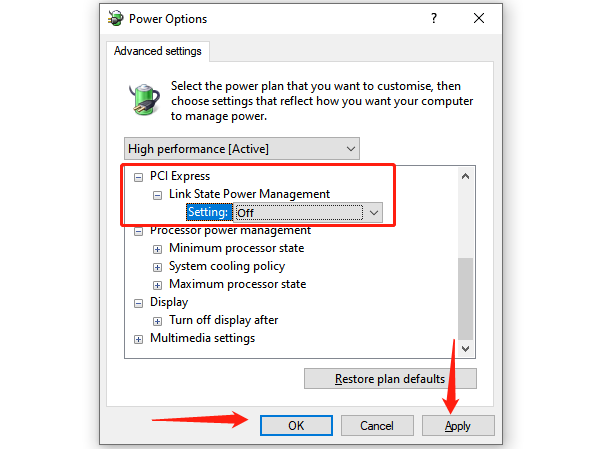
Locate "PCI Express" and expand "Link State Power Management". Change the setting to "Off".

Click "Apply" and "OK" to save changes.
5. Uninstall Conflicting Software
Press Windows + I to open Settings.
Navigate to "Apps" > "Apps & Features", and locate any recently installed or suspected conflicting software.
Select the software, click "Uninstall", and follow the prompts to complete the uninstallation.
Restart your computer to see if the crashes are resolved.
6. Check for Malware and Viruses
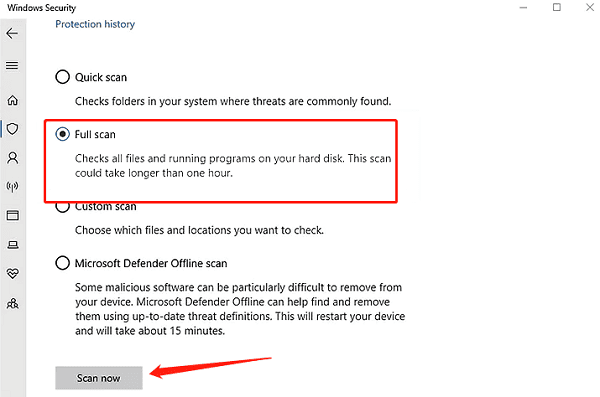
Open "Windows Security Center" and select "Virus & Threat Protection".
Choose "Quick Scan" or "Full Scan" to thoroughly check your system for malware.

Wait for the scan to complete and remove any detected threats.
Restart your computer to check if the crashes persist.
7. Perform a System Restore
Press Windows + S, type "Create a restore point", and open the result.
Under the "System Protection" tab, click "System Restore".
In the System Restore wizard, select a restore point (preferably one from a date when the system was functioning properly).
Follow the prompts to complete the restoration process.
After the restore, restart your computer to check if the crashing issue is resolved.
Follow these steps to fix frequent Windows 10 crashes. If the issue continues, seek help from a professional technician.
See also:
Solutions for Rockstar Games Launcher Not Working
Methods to Fix Windows 10 Error Code 0x80072F8F