With Windows 11's release, many users seek to upgrade via a clean installation for optimal performance. This guide offers simple steps for a smooth Windows 11 installation.
1. Preparations
A clean installation will erase all data on your computer, so make sure to back up important files beforehand. You can save them to an external hard drive, USB stick, or cloud storage to avoid data loss.
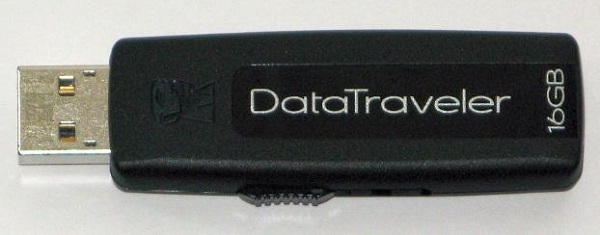
Prepare a USB drive or DVD with at least 8GB of capacity to create Windows 11 installation media. A USB drive is recommended for faster installation and convenience.

Ensure that your computer meets the minimum hardware requirements for Windows 11, including processor, memory, storage, TPM 2.0 chip, and Secure Boot support. You can use the PC Health Check tool to verify if your device is eligible.
2. Create Windows 11 Installation Media
Insert the prepared USB drive into your computer's USB port.
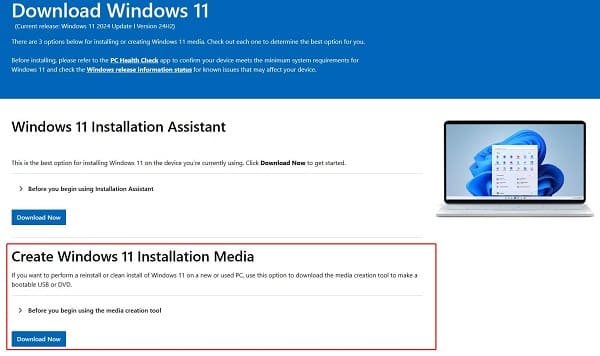
Download and run Microsoft's "Media Creation Tool". In the tool, choose "Create installation media for another PC", and select the USB drive as the installation media.

The tool will automatically download the Windows 11 ISO file and write it to the USB drive. Once completed, the USB drive can be used as a bootable installation disk.
3. Set Computer to Boot from USB
Restart your computer, and during startup, press the designated key (usually F2, Del, or Esc) to enter the BIOS or UEFI setup.
In the BIOS settings, find the "Boot Order" option and set the USB drive as the primary boot device. Save the settings and exit, and your computer will automatically boot from the USB drive.
4. Begin Windows 11 Clean Installation
After booting from the USB, you'll need to choose the system language, time and currency format, and keyboard input method. Select the appropriate options based on your preferences and click "Next".
If you have a Windows 11 product key, enter it to activate the system. If you're upgrading from Windows 10 and it's already activated, this step will be skipped automatically.
In the installation type options, select "Custom: Install Windows only (Advanced)". This will perform a clean installation without retaining previous files, settings, or apps.
You can choose to delete existing partitions and create new ones for the Windows 11 installation. After selecting the partition, click "Format" and then "Next" to start the installation.
5. Complete the Installation
Once you've selected the partition and confirmed the installation, Windows 11 will begin copying system files to the hard drive and proceed with the installation. This process may take anywhere from a few minutes to an hour, with multiple automatic restarts during the process. Do not forcefully shut down the computer during this time.
After file copying is completed, the computer will automatically restart, and the setup will continue with configuring user environments and system files.
Once installation is finished, you can begin installing your essential software and restore your previously backed-up files.
It is also recommended to use Driver Sentry to automatically detect and update drivers, saving time and ensuring you avoid downloading incorrect drivers.
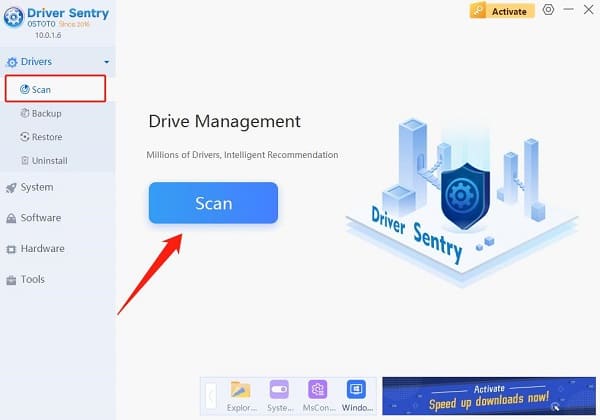
Click the download button to get the latest version of Driver Sentry. After installation, open the software and click "Scan".

Once the scan is complete, it will display drivers that need to be installed or updated. In the results list, find the required drivers and click "Update".
After updating, restart your computer to ensure the updated drivers take effect.
By following these steps, you can easily perform a clean installation of Windows 11, which helps fix previous system issues and boosts performance and stability. If any problems arise, check hardware compatibility or consult Microsoft's official installation guide for troubleshooting.
See also:
How to Fix Printer Driver Issues to Improve Office Efficiency
8 Methods to Fix Missing Sound Icon in Windows 10